Trustpilot Reviews

 Cameron Wingate
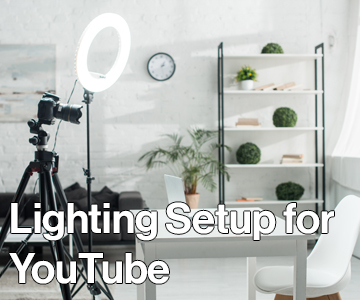

With the influx of people working from home and the surge in popularity of people live streaming or recording videos at home, a need to come across professional has become a necessity to stand out amongst the crowd and reassure your viewers that they’re watching quality content. There are a number of ways to improve the professionalism of your shoots, and unfortunately most of them are linked to budget – whether this be upgrading your camera, microphone, streaming rig or lighting. Arguably the most impactful way to improve the quality of your streams is with good lighting.
In this guide we will tell you the best way to light yourself for YouTube/Twitch streaming purposes, therefore increasing your content’s viewership and bringing in more revenue!
Can I just use natural light?
Depending on your streaming location, you may be situated next to a large window which provides a good amount of light for a prolonged period throughout each day. However, though this is clearly the cheapest lighting solution for recording, it does come with a number of disadvantages. The first is the inconsistency of the light – as soon as a cloud blocks the sun your video will dim and suddenly your clearly lit face will look dark. Lighting in this fashion also limits you to the time of day when you can stream/record. People who are recording at home after work will struggle to have enough light to satisfy the camera as day progresses into night. In the winter, it will be dark outside before the typical working adult will return home to be able to record.
Overall, depending on natural lighting is not advisable and it will produce different results every time. It is far easier to have a controlled lighting set up that is consistent and which will guarantee high quality results every time.

What are my options?
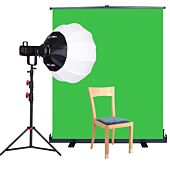
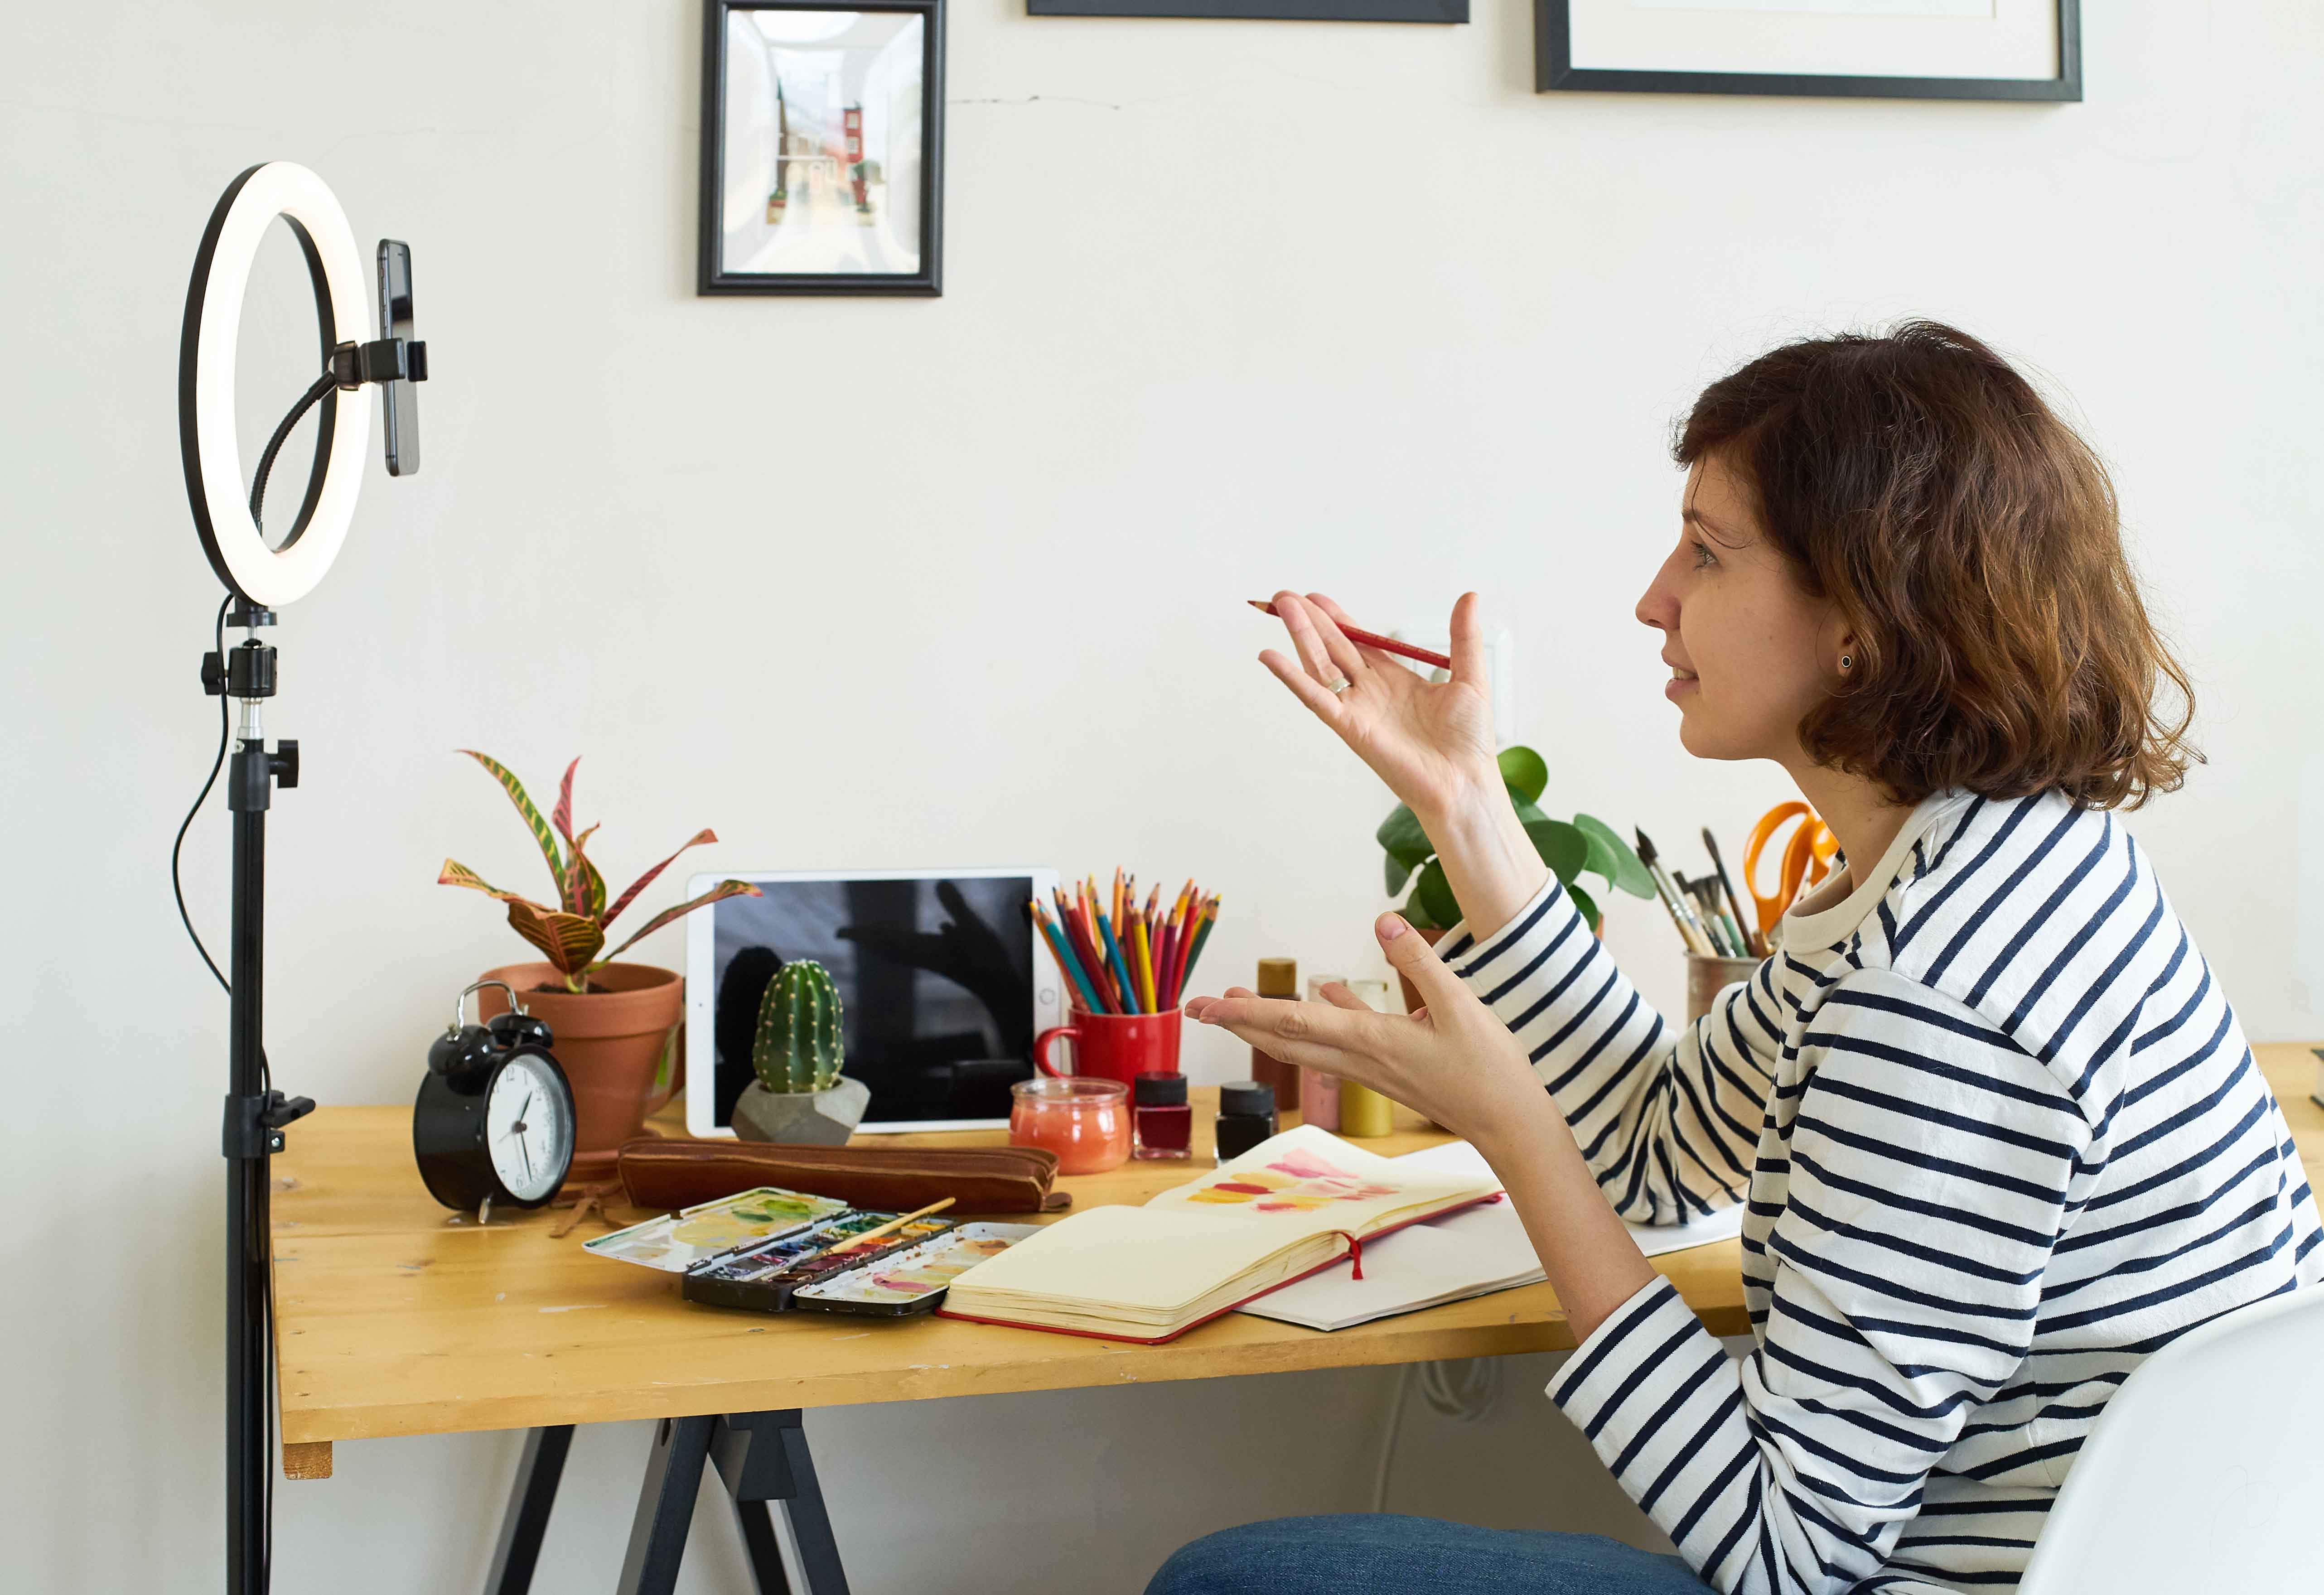
There are a couple of factors to consider when deciding on your lighting set up. The first consideration is the space available to you. If you’re limited on space, it’s probably not a great idea to fill the area with large softboxes, however much you’d might like to. You also need to consider the type of content you are producing. For example, if you are doing makeup tutorials you will want lights that are very complimentary to your face. In this case then ring lights would be a good bet.
Tighter Budget
We would recommend at least a 2-light set up, with one being a “key light”, and the other as a “fill light”. We’ll go into more depth as to the meaning of these terms later, but for the time being the streamer-on-a-budget should probably pair a ring light (as the key light) with an LED panel light (as the fill light). This way there will be a good amount of light on the subject (you), without any dark sides of your face. If you can’t stretch to two lights, you can make do with a ring light at one side of your face at a 45° angle, and the camera placed at the other side of your face on the other 45° angle.
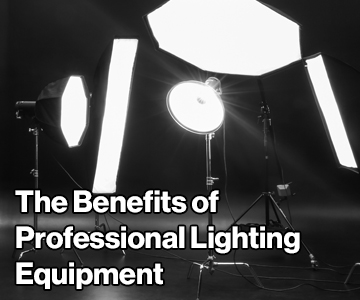
Larger Budget
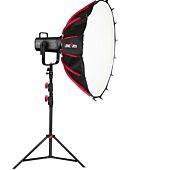
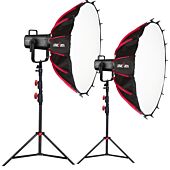
For those that can afford a bit more, the typical dream set up for any YouTube/Twitch streamer would be a full continuous lighting kit. You can check out some of our bespoke kits here. These include a three-point lighting set up, which we’ll go into later. By introducing softboxes to your set up, you can diffuse the light creating ‘softer light’, basically creating lighter shadows and making yourself appear more youthful and attractive on camera. Softboxes typically resemble natural light sources, such as a window, and allow for more directional options providing you with more control over both lighting and shadows.
The 3-Point Lighting Set Up
There is a lot of research and debate as to the best type of lighting for ANY type of situation. We find there’s an industry standard when it comes to lighting for home streaming, and it is the 3-point lighting setup. This consists of:
The theory behind this setup is as follows. The first light to introduce is the key light (a.k.a. the main light). This is placed at a 45° angle in front of the subject. If you were to picture the face of a clock, with the subject being filmed being the centre of it, and the camera directly in front of them at the 6 o’clock position, then the key light would go either at 4 o‘clock or 8 o’clock depending on your preference of light on the left or right side of your face. This light is your brightest light. Aim for a colour temperature of around 5000k which is the closest equivalent of natural sunlight, unless you’re going for something stylistically but deliberately different.
Now onto the fill light. The fill light goes at a 45° angle to the subject but on the other side to where the key light is situated (So if your key light is at 4 o’clock then the fill light goes at 8 o’clock, and vice versa). Typically the fill light is at half the brightness of the main light. It’s there to relieve the shadows but not completely eradicate them. By doing this the subject (you) will have more definition in your face and also won’t look overexposed.
Last up is the back light. The best place for this light is directly opposite the fill light behind the subject. If your fill light is at 4 o’clock then the back light would be at 10 o’clock. The back light is there to make you stand out against the background, and is set to just under the power of the fill light.

Trial and Error
As with everything that’s DIY, there is always an element of finding what works best for you. This may be tweaking the lighting levels of each light to get the specific look you’re going for, changing the colour of the light itself via colour gels or LED lighting settings, or it could be changing the camera’s positioning for a more shadowy and defined face. If you’re on your own, this may mean a lot of running back and forth between your positioning in the shot and then checking out the footage. Once you get the lighting down then you can be confident the next time you come to shoot then everything is ready to go and you know it’ll look great!
Conclusion
Even though the set up may seem basic, there is a reason why thousands of content creators all use the same lighting in their channels…It works! Once you have a quality camera, good microphone and a well-thought-out lighting set up you are good to go. The only thing you have to worry about then is the quality of the content itself that you’re putting out there. We can’t really help you with that, but you’ll look great presenting it! Happy streaming!
Content Creator