Trustpilot Reviews

 Cameron Wingate

This time of year can be a beautiful time to take photographs, especially when the snow starts to fall. However, capturing images in the snow can be quite challenging. The bright, reflective surface of the snow can make it difficult to get the right exposure, and the cold weather can also affect your camera's performance. In this blog post, we'll go through some tips on how to photograph in the snow, so you can capture the winter wonderland in all its glory.
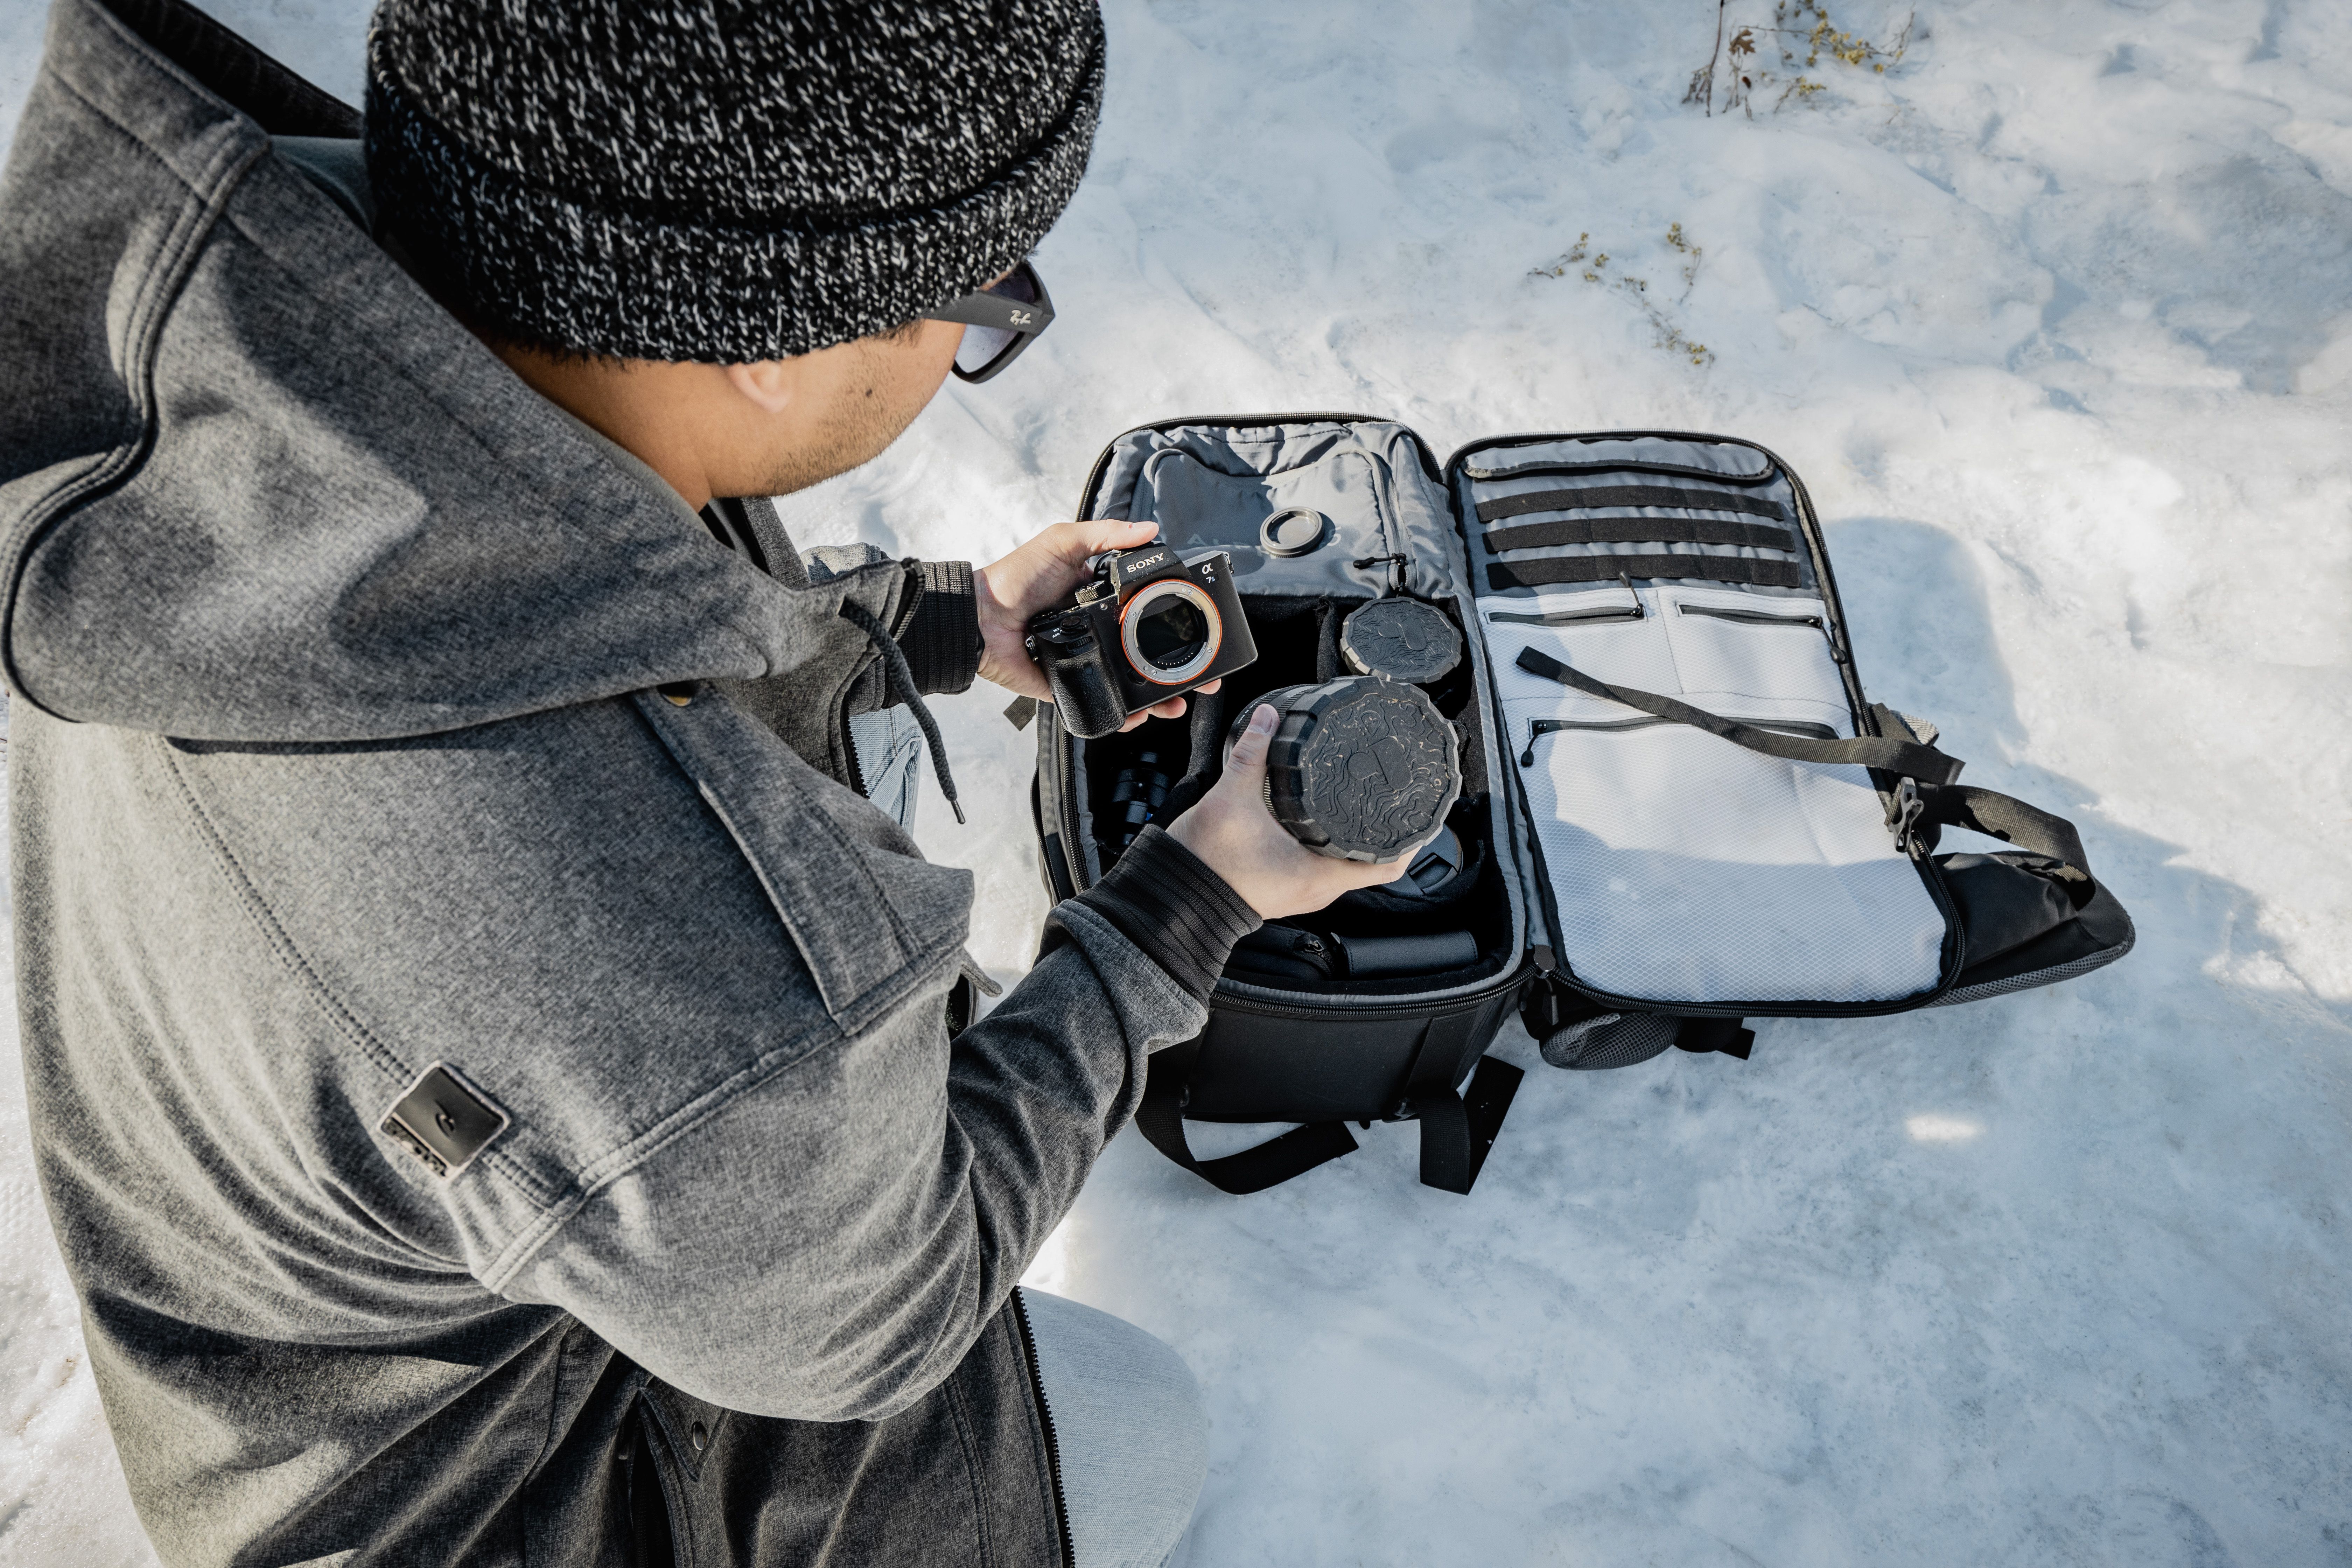
First and foremost, it's essential to protect your camera/equipment in cold weather. Cold temperatures can quickly drain your battery, so make sure you bring along a spare battery and keep it in a warm pocket. Also, be mindful of any moisture that may accumulate on your camera. Snowflakes can melt and cause water damage, so use a waterproof camera bag or cover your camera with a plastic bag.
Snow is a bright, reflective surface, and your camera's metering system may struggle to get the exposure right. To avoid underexposure, you may need to increase your exposure compensation by one or two stops. This will ensure that the snow appears bright and white, rather than grey or dull. However, be careful not to overexpose the image, as this can cause a loss of detail in the snow.
A polarising filter can help to reduce glare and reflections from the snow, making the image appear more vibrant and clear. It can also help to deepen the blue sky in the background. Simply attach the polarising filter to your lens and adjust the angle until you achieve the desired effect.


One of the challenges of photographing in the snow is that everything can appear white and featureless. Look for areas of contrast to add interest to your images. This could be a red barn against a snowy field or a tree with dark bark against a white background.
Play around with the depth of field to create different effects in your snow photographs. A shallow depth of field can create a dreamy, soft effect, while a deep depth of field can ensure that everything is in focus, from the foreground to the background. Use a wide aperture (low f-number) for a shallow depth of field or a small aperture (high f-number) for a deep depth of field.
Leading lines can help to guide the viewer's eye through the image and create a sense of depth. Look for leading lines in the snow, such as footprints, animal tracks, or even the curve of a snowbank. Use these lines to draw the viewer's eye into the image and create a sense of movement.
Finally, shoot in RAW format to capture the full range of tones in the snow. RAW files contain more information than JPEG files, which can help you to recover details that may be lost in the highlights or shadows. RAW files also give you more flexibility when it comes to adjusting the exposure, contrast, and colour balance in post-processing.
In conclusion, photographing in the snow can be a challenging but rewarding experience. By following these tips, you'll be able to capture the beauty of winter in your photographs. So, grab your camera, wrap up warm and head out into the snow!
Content Creator