Trustpilot Reviews

 Garry Edwards
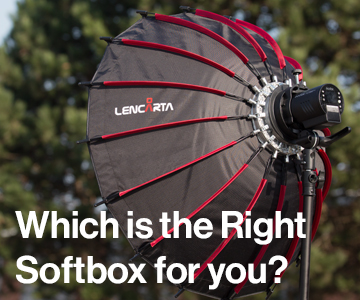
Softboxes are the popular go-to tool for producing soft light, especially in the studio, because they combine the advantages of both shoot through and reflective umbrellas, i.e. they produce even, soft light that can be placed as close as required to the subject, and with almost zero light spill.
Softboxes are very versatile tools that can produce very soft light when required - not that soft lighting is necessarily a good thing, and the mantra "Soft light good, hard light bad" is very much a beginner belief and makes no more sense than the "Four legs good, two legs bad" mantra of Animal Farm - but when soft light is required, softboxes are good, simple tools that do the job.
For light to be soft, it needs to be large, relative to the subject. What this means is that if you're photographing a large subject and you want soft lighting, then the softbox needs to be larger than the subject, and it also needs to be close to it because, as explained below, it effectively gets much smaller as it is moved further away. So, what a softbox is usually used for is the creation of soft, diffused light that produces low overall contrast. But, when used at an acute angle to the subject it can also create a combination of both high local contrast and low overall contrast, this needs a good softbox and some experience. Here’s an example of a softbox used at a distance of about 30cm, which many people would consider to be close. The specular highlights (reflections of the light source) are much larger and much more diffused than than they would be at a greater distance.
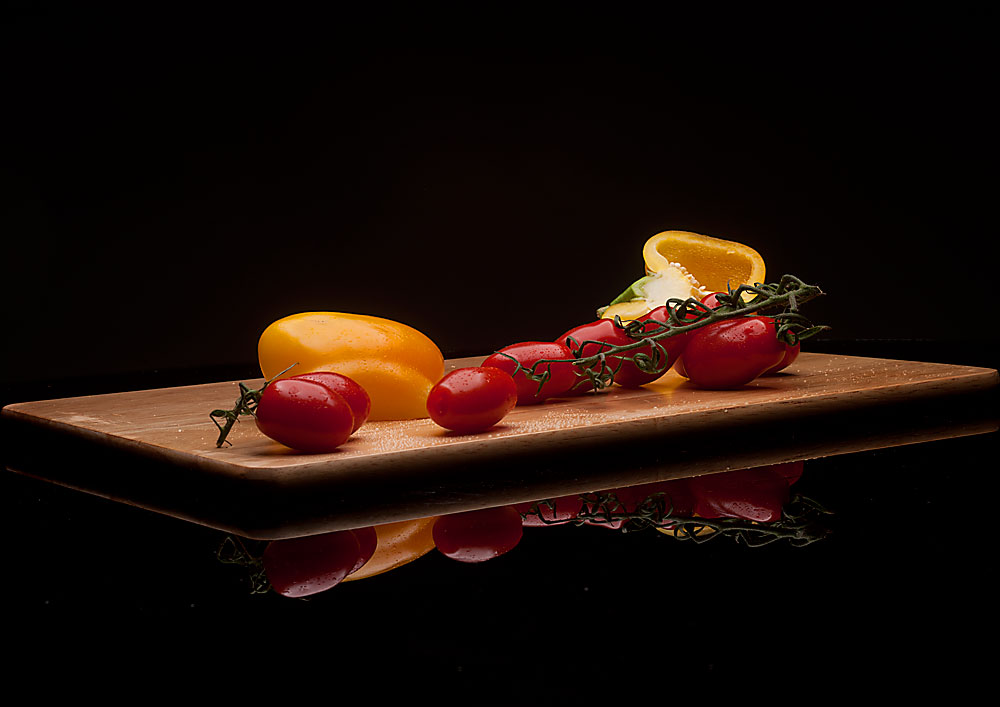
But, with these highly reflective and convex shapes, 30 cm was too far away.
 Here’s the shot with the softbox moved literally just out of shot – which is about right for this type of subject.
But, not all softboxes are equal and before I explain what you need to look for in a softbox, I’m going to bore you with some history, which I think is relevant.
The very first softboxes were made of sheet steel or plywood, with a ground glass screen on the front. The flash heads didn’t attach to the softboxes, they were built into them! They were extremely expensive and were permanently suspended in position in large professional studios. They were then manoeuvred into position by using a block and tackle to adjust the angle and height! But, despite the cost and the inconvenience, just about all professional studio photographers bought them, simply because they revolutionised the quality of their work.
The next generation came out in about 1979 and had improved so much that they were unrecognisable. An American Company, Chimera, made them from fabric tent materials instead of steel and found a way of attaching a flash head to them. They look similar to the ones that we use today. They were a brilliant advancement and suddenly, softboxes were both affordable and easy to use.
But, they were hand-made from good quality materials and they weren’t exactly cheap. The design was then copied and re-copied, time and time again, by factories that are not run by photographers, and they became cheaper and cheaper, using terrible materials that fall to bits, don’t control the light spill properly and with diffusers that don’t diffuse properly. These terrible copies are still available today from other sellers, and they are useless.
Back then someone asked me why I chose to use very expensive Chimera softboxes instead of cheap copies. At that time I was doing a lot of fashion photography, and my answer was simple: Good softboxes make cheap clothes look expensive!
Later though, Lencarta was able to design a new range of professional-quality softboxes, and persuaded the manufacturer to use the best materials, regardless of cost. Lencarta’s designs have of course been copied by others, but with cheaper, inadequate materials.
In terms of design, softboxes need to have:
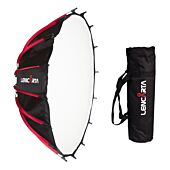
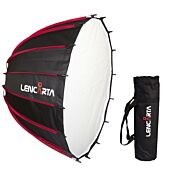
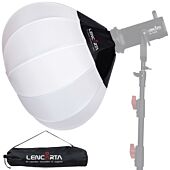
 Softbox size:
The larger the softbox, the softer the light, at any given distance from the subject. When you move the softbox further from the subject the quality of the light changes. The most obvious change is to the softness of the light, because softbox size is subject to Newton’s Inverse Square Law, so if you move it further from the subject the light becomes effectively smaller, and the shadows become harder (darker and more clearly defined). Therefore, really big softboxes are a very good idea, if you have the space for them, and if they don’t get in the way of the camera. But, smaller ones are sometimes needed too, so in a perfect world, we need a range of different sizes – and different shapes.
Just as an aside to this, someone once worked out that a softbox stops behaving like a softbox beyond a certain distance, and that distance is the diagonal measurement of the softbox front diffuser. As an example, if the softbox measures 1 x 1.5m then the diagonal measurement is 1.8m, and the softbox won't behave as a softbox beyond that distance - but of course, the internet is full of idiots who post nonsense, and a lot of these people have decided that the correct distance for a softbox is the diagonal of the front diffuser measurement!
In fact, the best distance is the one that produces the best result, which depends on the effect we want to achieve and the type of subject.
What's the ideal size?
Well, there are a lot of different sizes (and shapes) to choose from and each has its purpose, but the most common mistake is to buy one that's too large for its environment - if you're shooting in a large professional studio then fine, get a good range, but if you're shooting at home with very limited space, I usually advise a maximum size of 90cm. It isn't just space, it's ceiling height too - in the natural world, nearly all light comes from roughly above, so for people photography at least, we usually want our softbox high too, and if the ceiling is low this will stop large softboxes from being used, or at least it will stop them being used well.
Softbox shapes:
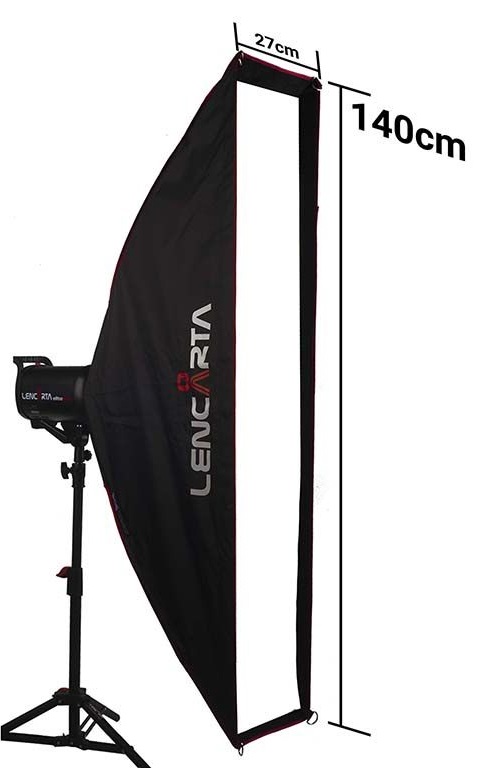
The traditional shapes are round, octagonal, rectangular and square, and all of these have their uses and, if you're photographing people, your choice may depend to some extent on whether you want square, rectangular or some other shape of catchlights in your subject's eyes, because the catchlight shape will be that of the softbox shape. I also use ‘strip’ softboxes, a popular size for these is 140cm x 27cm.
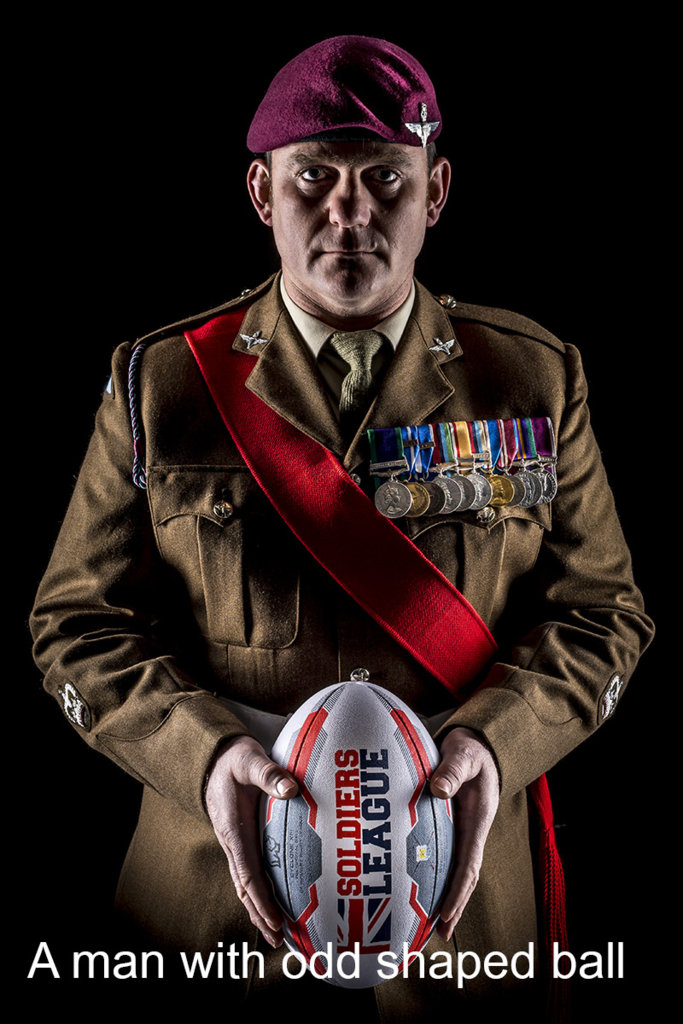
This shape was originally designed for lighting the edges of bottles, but they are used for many other subjects too, in fact wherever a long, thin strip of light is required. This photo used a strip softbox on each side of the subject, to create eye-catching rim lighting. It was used at a distance of around 1m because we didn’t want soft lighting for this type of subject.
And, apart from the extra light needed for the rugby ball, this effect was achieved with just the two strip softboxes.
And then there's the flash . . .
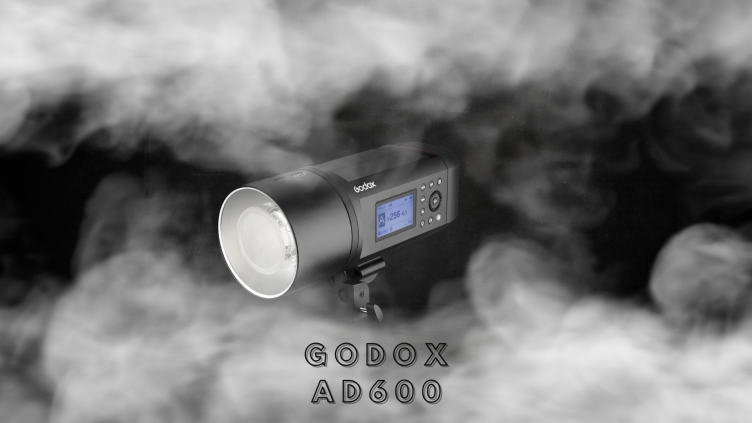
So far, I've assumed that you're using a studio flash head because most softboxes are designed to be used with a standard studio flash head that doesn't have a reflector fitted to it. In a well-designed and well-made softbox, the light from the bare-bulb flash bounces all around the interior of the softbox and gets thoroughly mixed up in the process, producing very even light before it even reaches the inner diffuser and then ending up passing through the outer diffuser.
But, if you use one of those awful cheap flash heads that have a fixed reflector (please don't) or if you use a flashgun with a built-in reflector, it can't work nearly as well as a studio flash head, because the reflector pushes all of the light forward and doesn't make use of the softbox walls for reflection and light scattering. Up to a point, some things can be done to mitigate this, for example by fitting some kind of deflector or diffuser just in front of the flashgun, or angling it so that the light strikes the softbox wall instead of going straight forward, but there are limits to the quality of light improvement, and limits to the size of softbox that a flashgun can light evenly. Different people have different views on the maximum size that works fairly well. Personally, I think that up to 60cm is OK, some people think that much larger softboxes are fine but the real answer is dependent on the type of subject and the quality standard needed - for example, if we're photographing a shiny subject that needs a really good softbox then that's a much more demanding application than if we're photographing Mrs Brown and her kids . . . And the quality of the light also matters much less when we use a softbox outdoors in fairly bright lighting conditions, simply because uneven lighting won't show up when it's competing with daylight.
So, you might consider using a reverse-firing softbox if all that you have is flashguns.
These softboxes are designed specifically for use with flashguns, and they work really well. The flash is fitted to the front of the softbox, pointing backwards, and because of this, the light is distributed much more evenly.
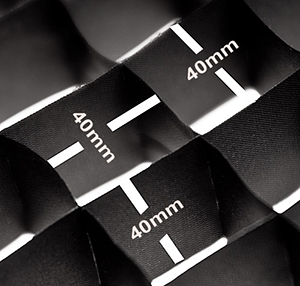
Softbox Honeycombs:
These are fabric honeycombs that fit in front of the recessed front diffuser of the better softboxes, and they work in the same way as the honeycombs fitted to standard reflectors, except that they ones are limited to a spread of about 42 degrees, which is enough. These honeycombs have sections that measure 4 x 4 x 4cm, other (cheaper) ones are available that are less deep and which have larger holes, frankly the larger ones are useless.
Honeycombs on softboxes should not be used routinely because they create an unwanted pattern when the light is falling directly on to the subject. Instead, they should be used only when needed either to create rim lighting or to create high local contrast, for example, to show the texture of clothing or to emphasise craggy features.
Guest Blogger, Author of 16 books on Photography