Trustpilot Reviews

 Garry Edwards
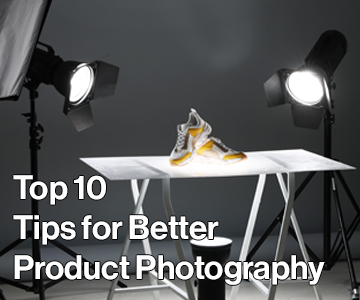
Our 10 Best Tips On How To Photograph Products For E-commerce - Amazon, Websites & eBay
Photography is the most important tool for any e-commerce website. Online customers can’t feel, touch, try or handle your products, so they need photos that make them want to feel, touch, and handle them – it’s a poor substitute for the real thing, but it’s the only substitute there is, so the more attractive and well photographed your products are the more likely you are to make a sale.
1. Show the benefits of the product
And yes, I’m talking about the benefits here – the things that make your product special and different. This is not the same thing as the features, which might include a list of useless gizmos that make the product look well specified but which don’t serve a really useful purpose. As photographers, it’s our job to find out what makes our client’s product special. But sometimes even the client hasn’t thought this through, and when this happens we need to involve other people, and get their views – it’s amazing how helpful this can be!
2. Plan the shoot
Like everything else in life, organisation is key. We photographers tend to be a disorganised, sloppy bunch, but organisation and preparation is everything in product photography. Think long and hard about where the images will be used. In a perfect world, it would be good to have every shot in the same ‘golden rectangle’ landscape format which works well in most situations but not, for example, on a Facebook post or a website banner.
Include props in the planning too; props can help to sell the product (although of course you always need to state the obvious, e.g. “blah blah is not included (but remember that with images for Amazon, you can’t include anything that isn’t in the offer)
Think too about consistency of presentation. Presenting your photos on a pure white background ticks most boxes and again is a requirement for Amazon listings, but you need to plan whether it’s the right approach for you.
3. Don’t photograph 3-dimensional subjects flat
If you’re shooting items such as T shirts, don’t just lay them down flat, they won’t look interesting. If possible, put them on a real live model. If that costs too much, put them on a mannequin instead. If you’re shooting expensive clothes, put them on a good, live model, not on a mannequin – mannequins don’t have sex appeal.
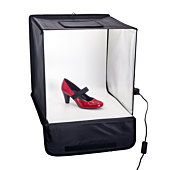
4. Don’t shoot against a white background
This may seem to contradict what I’ve just said, but presenting products on a white background is very different from photographing them on a white background – white backgrounds can be OK for some products, such as fashion, where there is plenty of space and a massive number of shots need to be taken, but it makes creative lighting and contrast difficult for small subjects. The best solution is usually to photograph against a neutral grey, then get the images cut out by one of the many clipping path people and add a drop shadow, if required, in Post Production (PP). You’ll end up with your images on a transparent background, which can end up as white, black, a gradient background or anything else.Getting them cut out adds to the cost, but is well worth the difference in quality.
5. Be consistent with colour
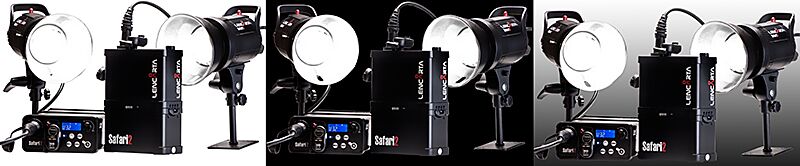
One of the worst, but most common mistakes with product photography is for colours to vary. If the product colours are wrong then you’ll be deceiving your customers, and if they are inconsistent then this will have a massive impact on your sales. Although you can easily correct consistently wrong colour temperature in PP, you need the right lighting equipment to avoid the problem in the first place – which means avoiding cheap flash kits and avoiding nearly all continuous lighting kits, which are unable to reproduce all colours accurately.
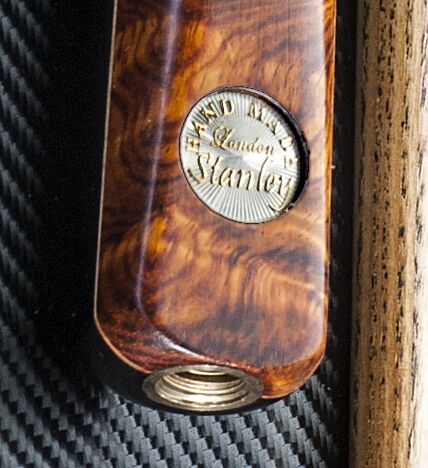
6. Get the styling and composition right
You need consistency in styling and product composition too; sometimes it’s obvious, if you’re going to be photographing a range of items like these snooker cues, then obviously every single shot must show the same angle as the others. Some products though are less obvious, and if you don’t have knowledge of styling, get help to do it right.

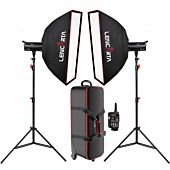
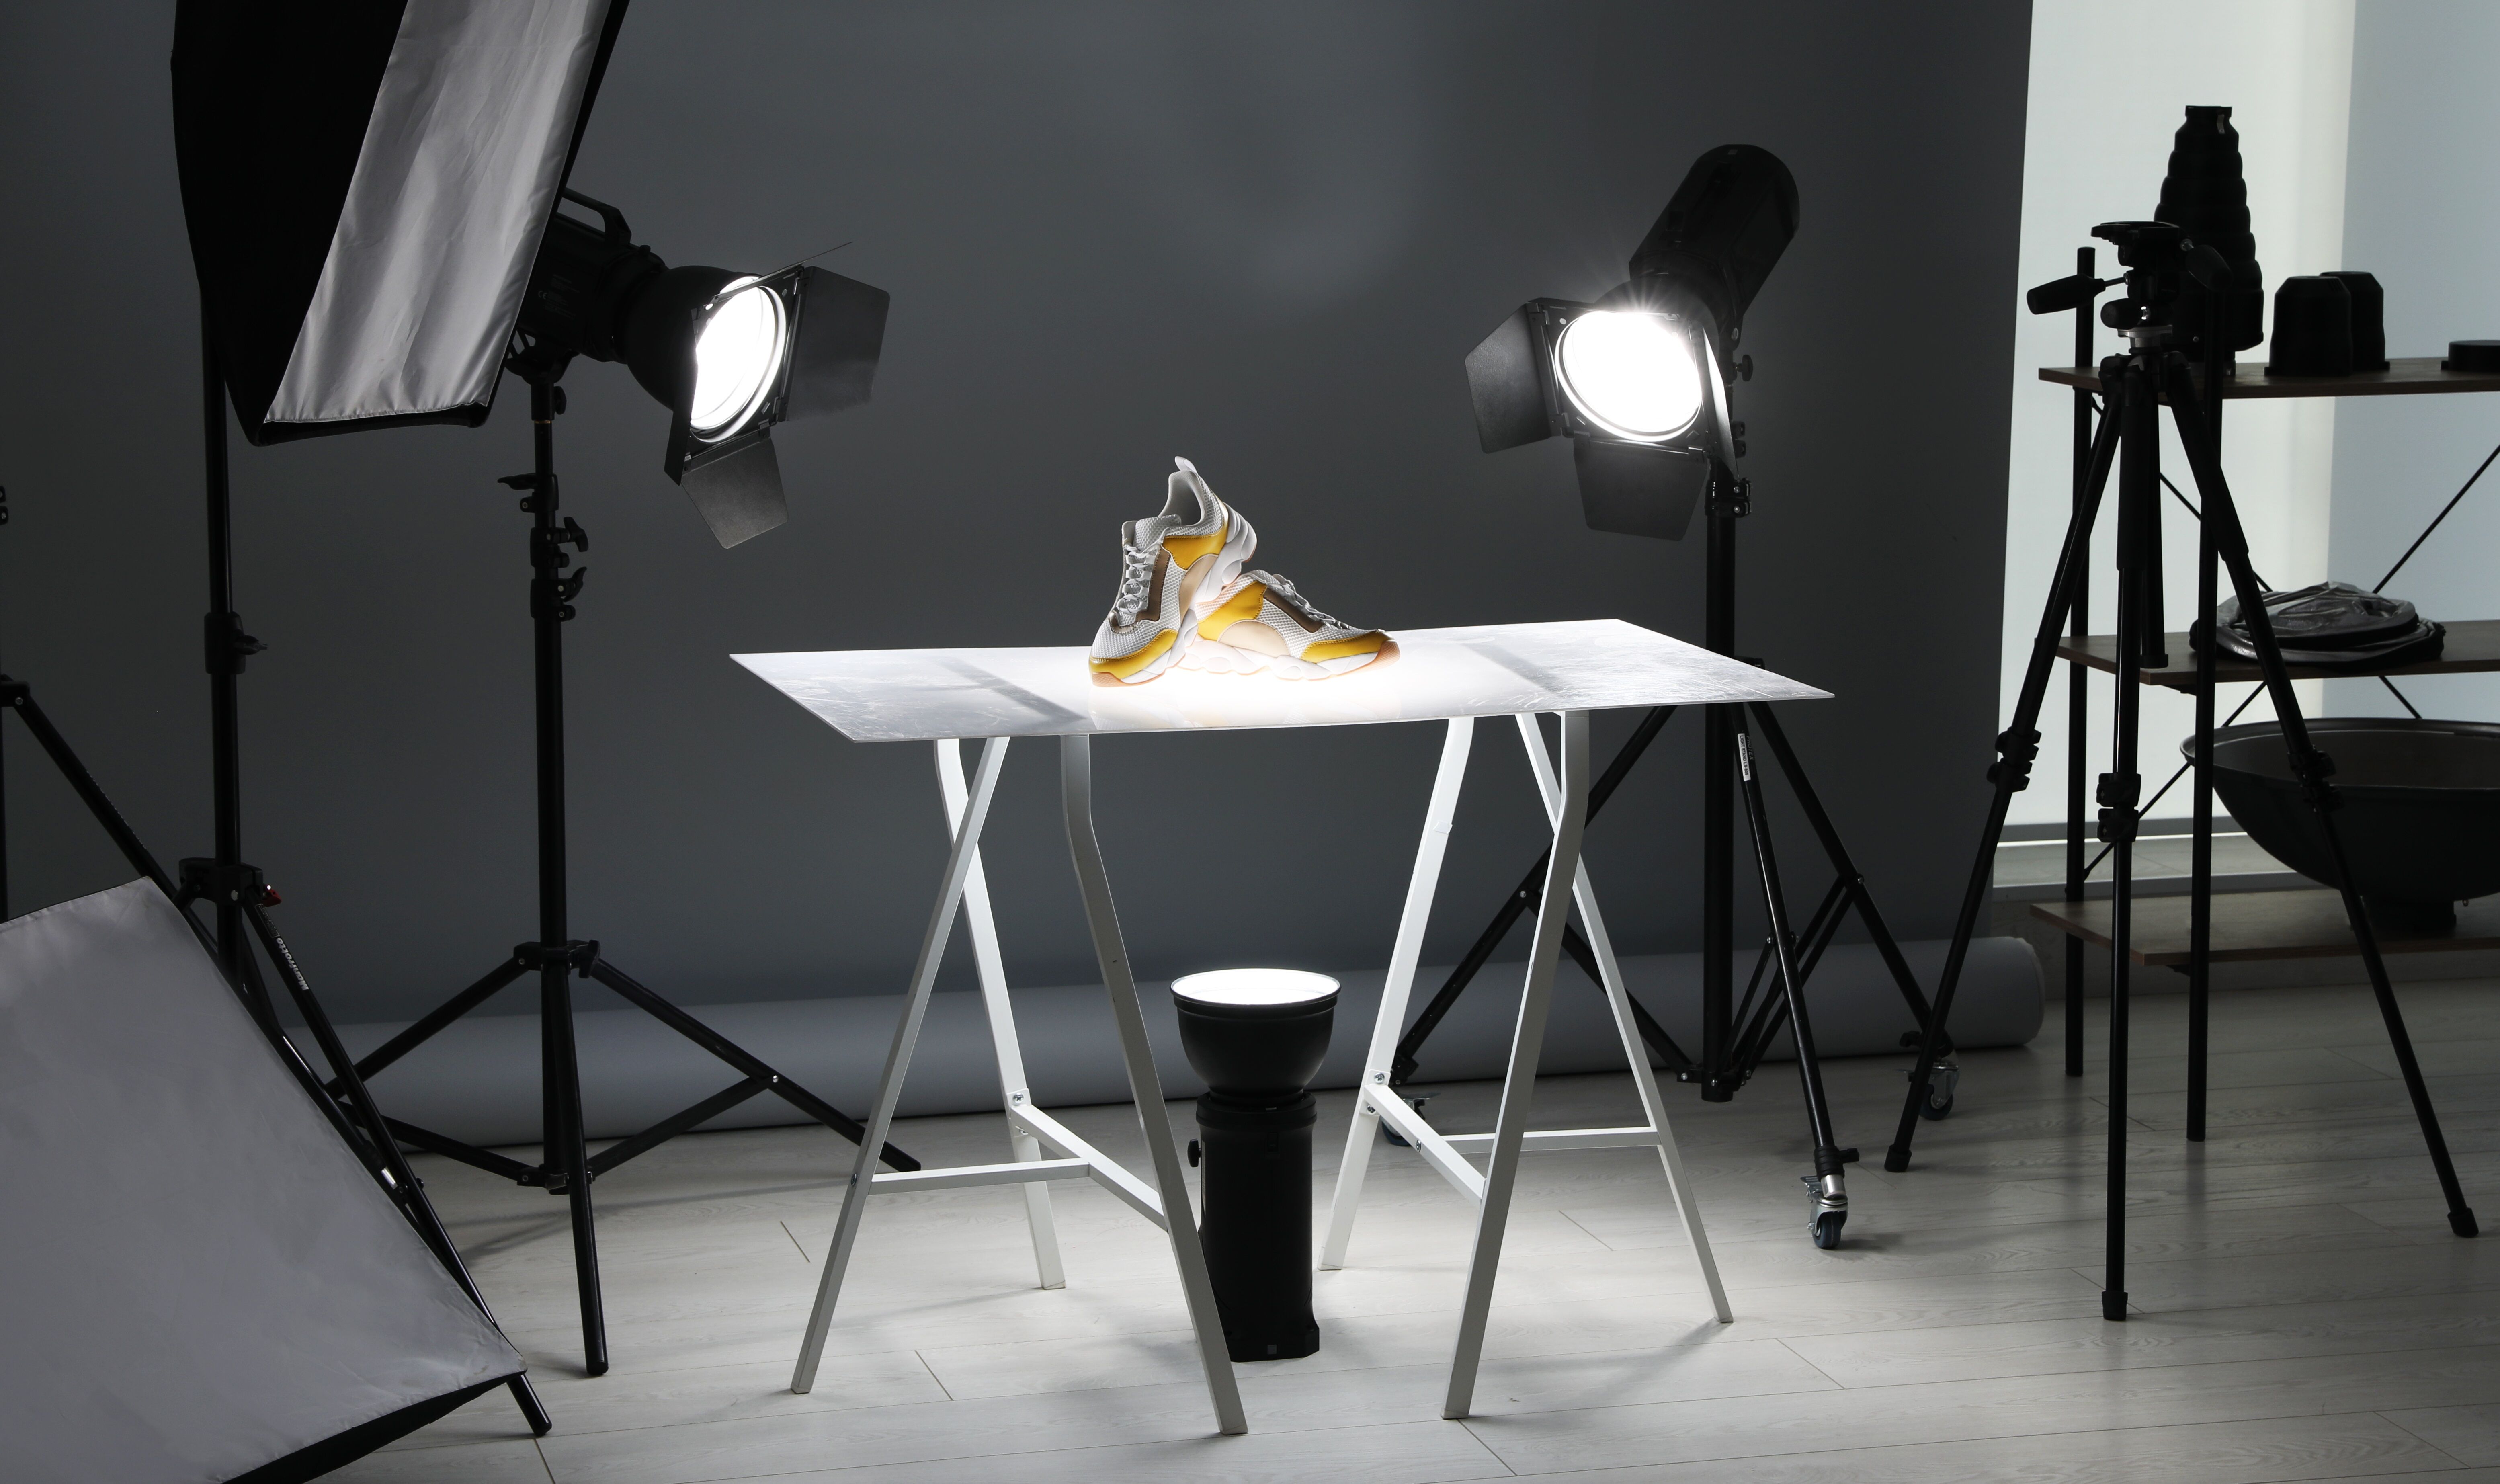
7. Use a tripod
Using a tripod is essential. A lot of people view tripods just as a tool for avoiding camera shake, but with product photography a tripod (or a studio stand) is the essential tool that ensures that every shot is taken from exactly the right place.
8. Take multiple shots
There always has to be a ‘main’ shot. This is the shot that grabs attention and creates interest in the product, and if that shot isn’t right then the potential customer will be lost. But you need to add other shots too, taken from different angles, showing the sides and back of the product and showing all the small details that aren’t obvious in the main shot. Some of these extra shots may not always be necessary, but include them anyway because the more you show, the more you sell.
9. Get everything in sharp focus
Shallow depth of field can look arty, but it rarely sells products. And it only works at all when it’s really obvious, it doesn’t work when part of the subject is slightly out of focus, because when that happens it just looks like a bad photo!
The main photo must always be fully in focus. With skill and care, this can always be achieved if you’re using a monorail camera or a tilt/shift lens, but if you don’t have either of those then you need to rely on a small lens aperture and to avoid arranging the product in a way that requires too much depth of field. Place the point of focus about 1/3rd into the depth of the subject.
On a full frame digital camera, try to shoot with an aperture no smaller than f/16, with a crop sensor camera don’t go smaller than f/11, otherwise you will lose overall sharpness due to diffraction limitation. Any decent DSLR camera and any decent lighting kit will allow this, and you can always vary the ISO setting and/or fit a neutral density filter if you need to do this in order to use the same f/number for every shot.
10. Use big photos
Big photos catch the eye better than small ones and show much more detail. Customers need to see this detail, so don’t use tiny pictures that give them eye strain – they won’t strain their eyes, they will simply look at someone else’s photos instead!
Bigger photos make the product look better, and make it easier for your customer to make the right decision!
The photo below, by Michael Sewell, does a much better job.


Guest Blogger, Author of 16 books on Photography