Trustpilot Reviews

 Cameron Wingate
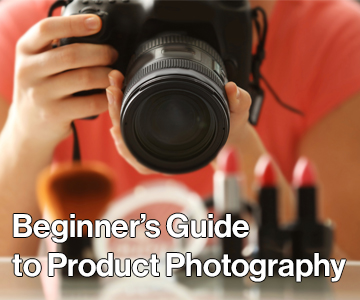
Introduction
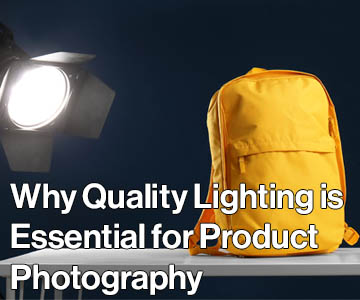
We’ve all seen images of products that really stand out, and have probably seen just as many that look terrible. You only need to check online marketplaces like eBay and Facebook Marketplace to see what we mean. As the saying goes, a picture is worth a thousand words. It is therefore imperative that you nail your product photos and make sure those thousand equivalent words are all positive! This guide is for anyone looking to get the most out of their products via good product photography, therefore boosting sales of their consumer items such as jewellery, make up, model figurines, and even food items such as cakes.
When it comes to running your own e-commerce business, or just simply want to sell on marketplaces (like eBay), the product’s photo is often the ‘make-or-break’ aspect of the sale, and is arguably far more important to get right than the wording around it. With that in mind we’ve put together a handy guide that details the things you must do to get the most out of your product photography.
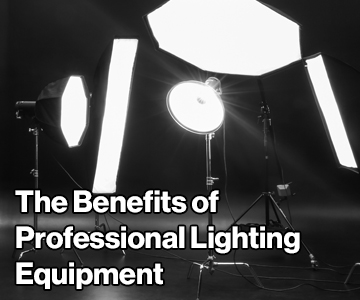
1. Determine your Limitations
These limitations can be size of the area available to you to take the shots, or the budget you can allow for your lighting equipment. Another limitation could be the camera equipment available to you, such as a DSLR or just a camera phone.
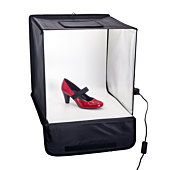
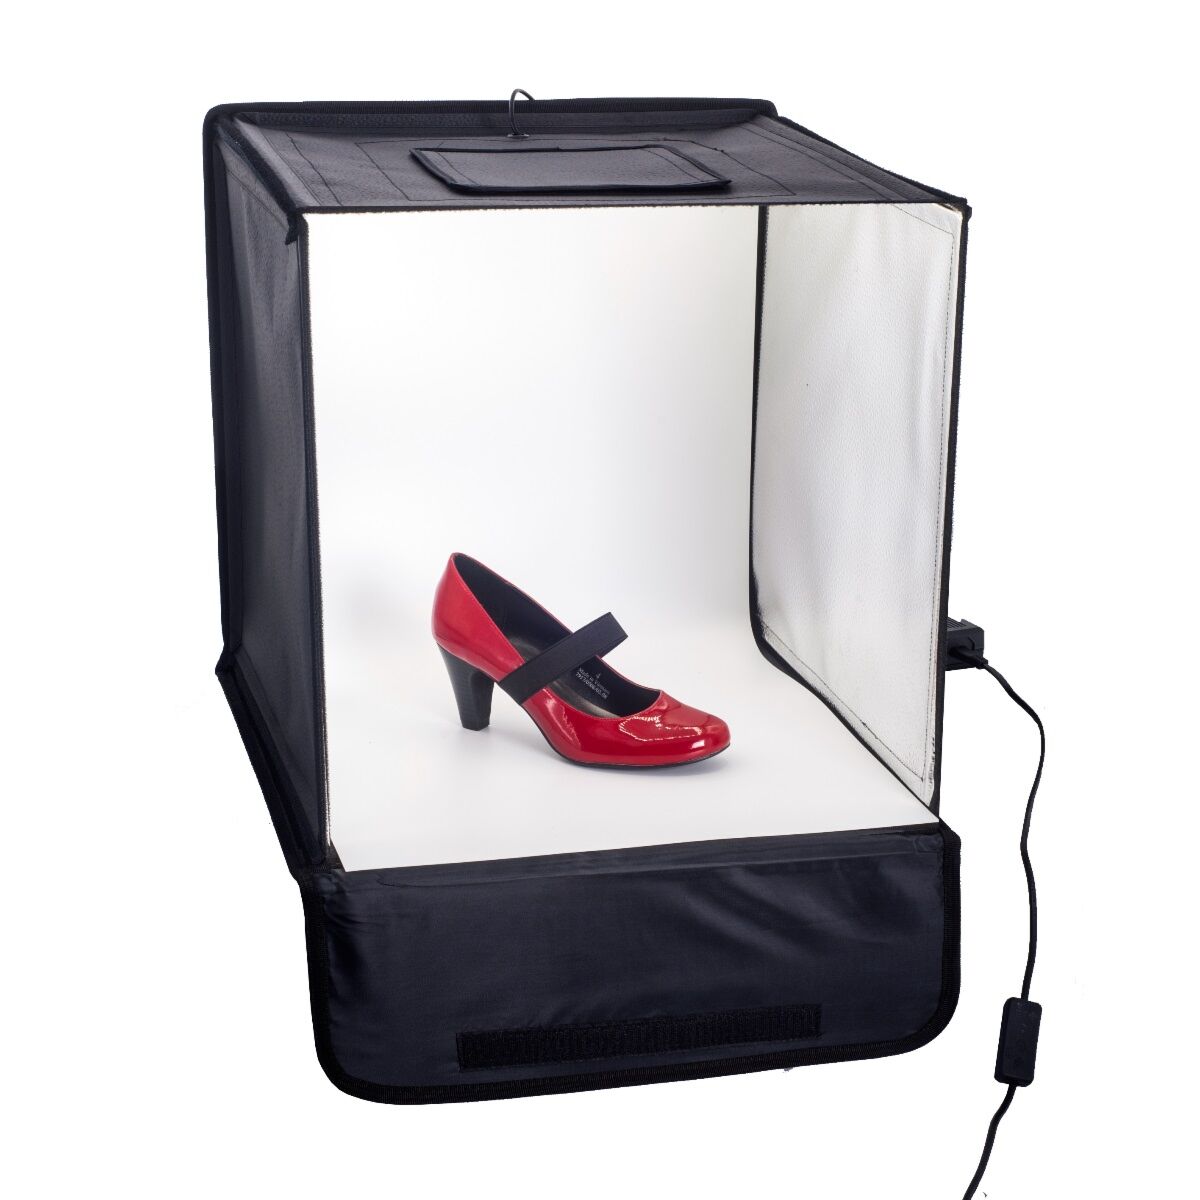
If you’re at home and don’t have a lot of space, you will have to be canny with the usage of the amount of space available to you. Hopefully in these instances where you can’t commit a lot of space, then the products that you’re taking photos of will be small enough that something like a Light Box will be perfect for setting up in a corner and then easily dismantled and stored when not in use.
The larger the product you’re taking a photo of, the more space you will need to dedicate to the studio where it will be photographed. Photography studios are known to take up massive square footage of space very easily, as the more lights and tripods you add to it the more space they take up.
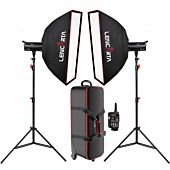
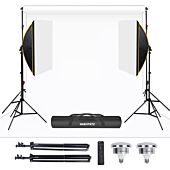
We would recommend a kit that includes 2 softboxes so that you can light your product from two sides and eliminate those shadows. Combined with a white paper background this kit can unlock fantastic looking shots of your products at a very reasonable price.
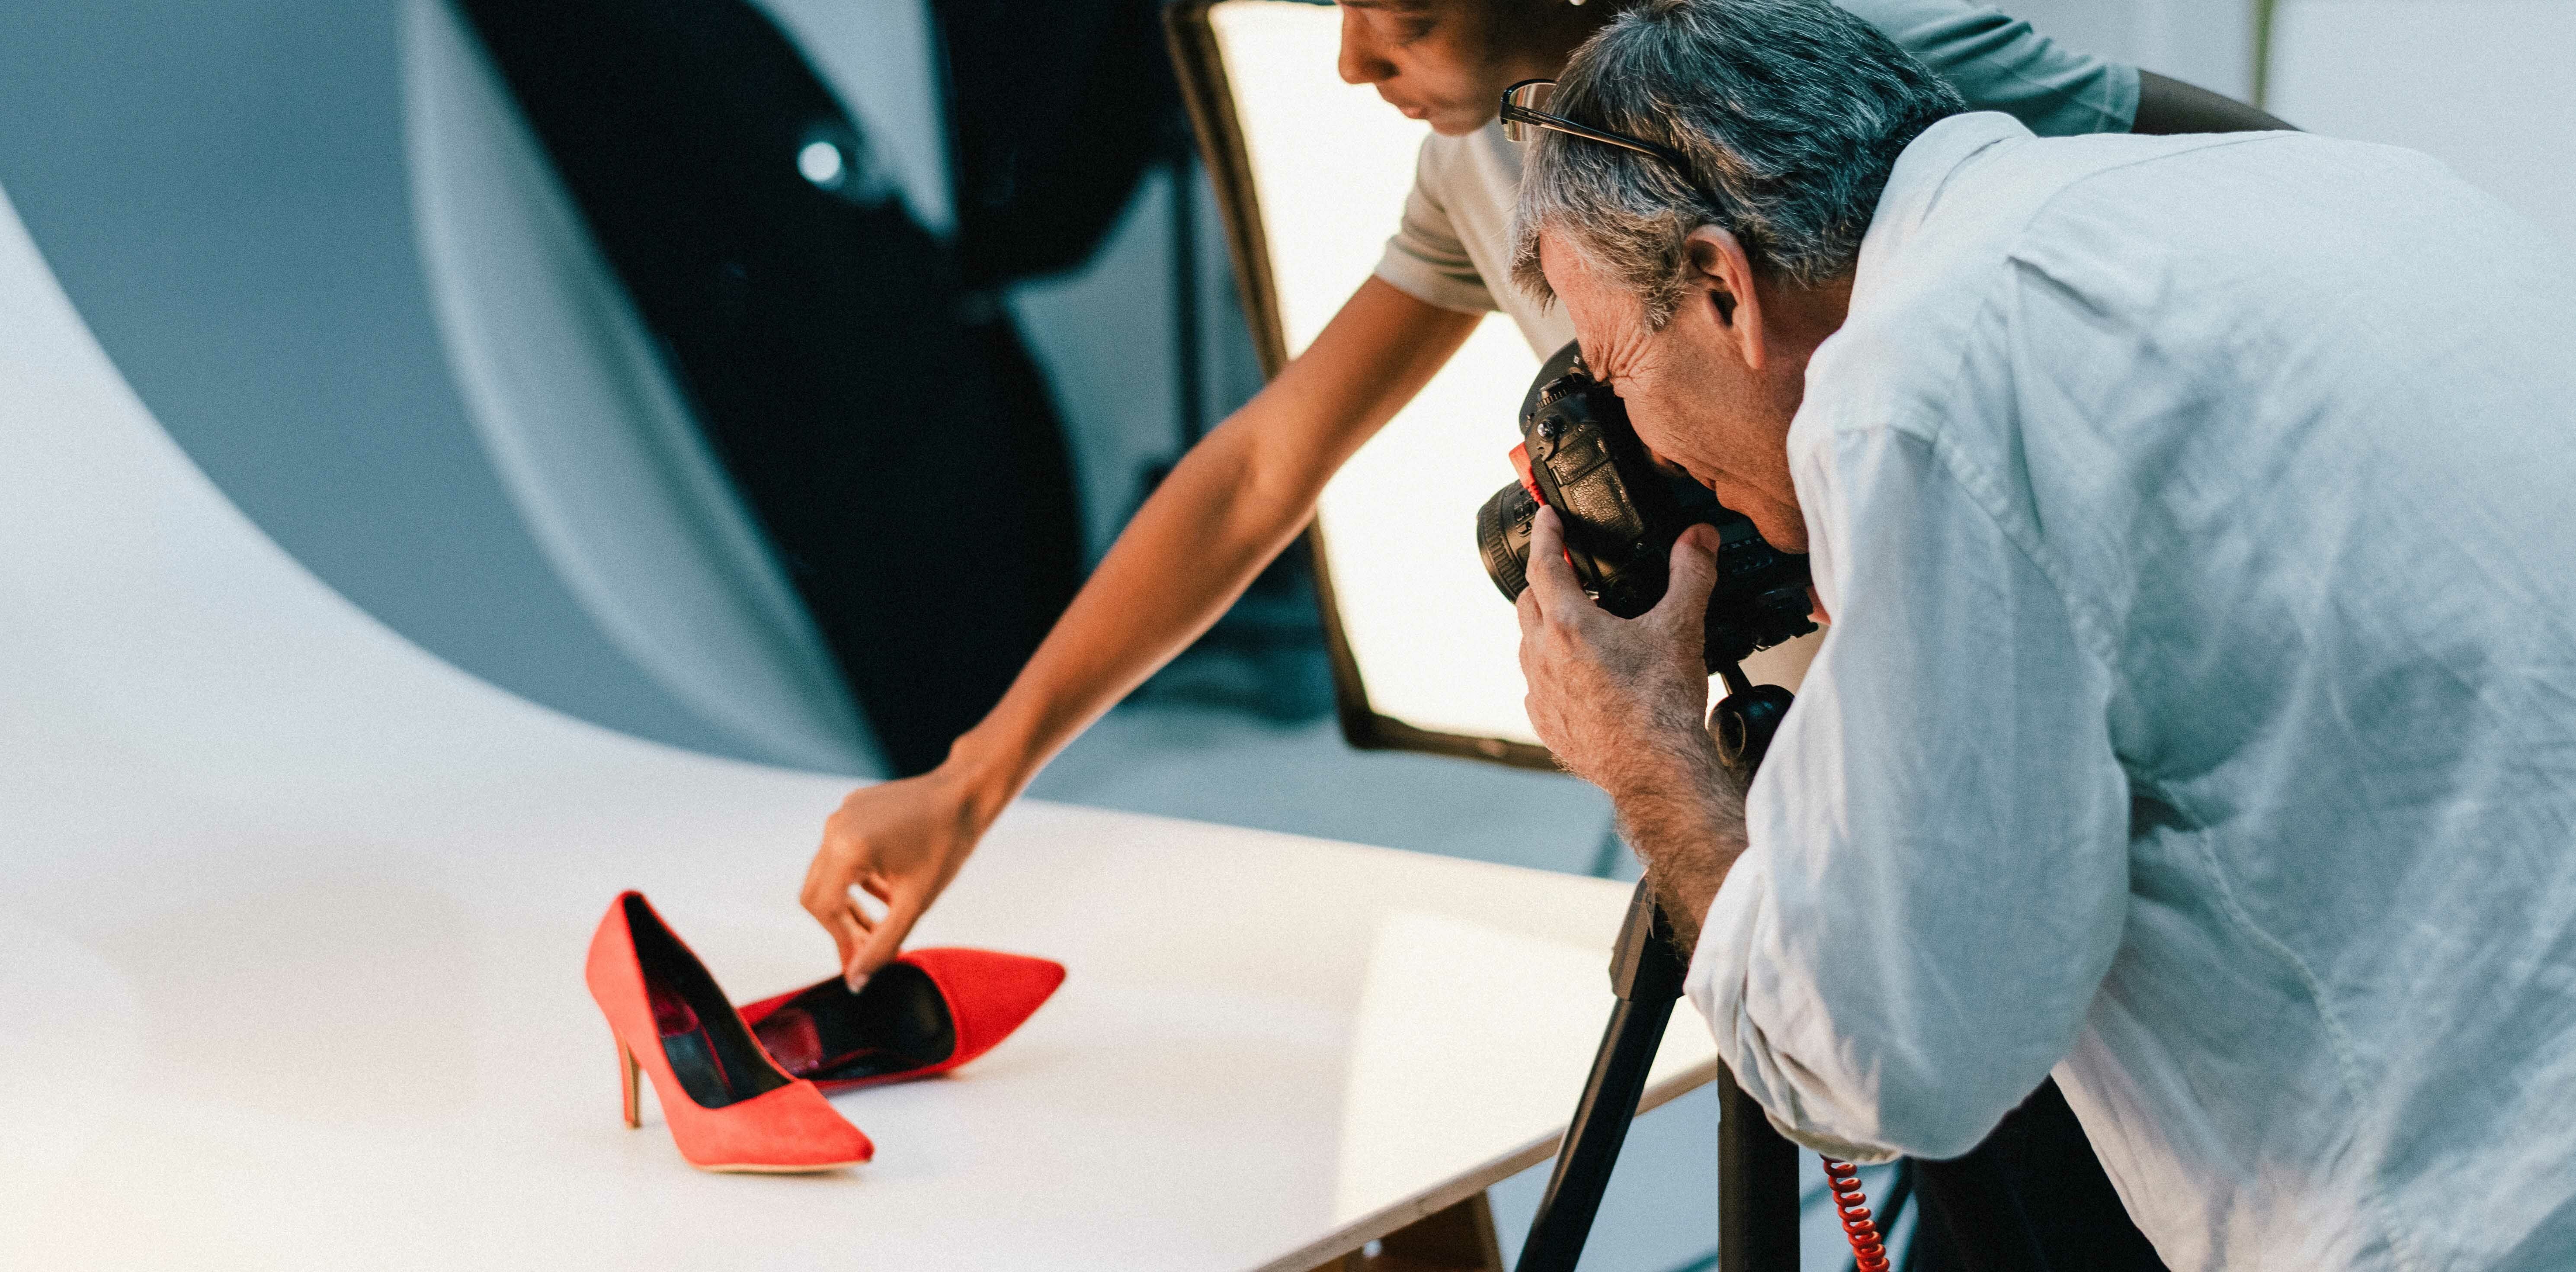
2. Set Up Your Lighting Equipment
Depending on the above, your setup may be more temporary in the case of a lighting box, or a permanent studio in the case of larger products. It’s good to set up in an area that isn’t in the way, or somewhere you need to pass through a lot. Not only could you dirty the background by walking through the area often, you could also trip over the power cables of the lights (NOT recommended!).
*If your equipment is a Light Cube, skip to part 3*
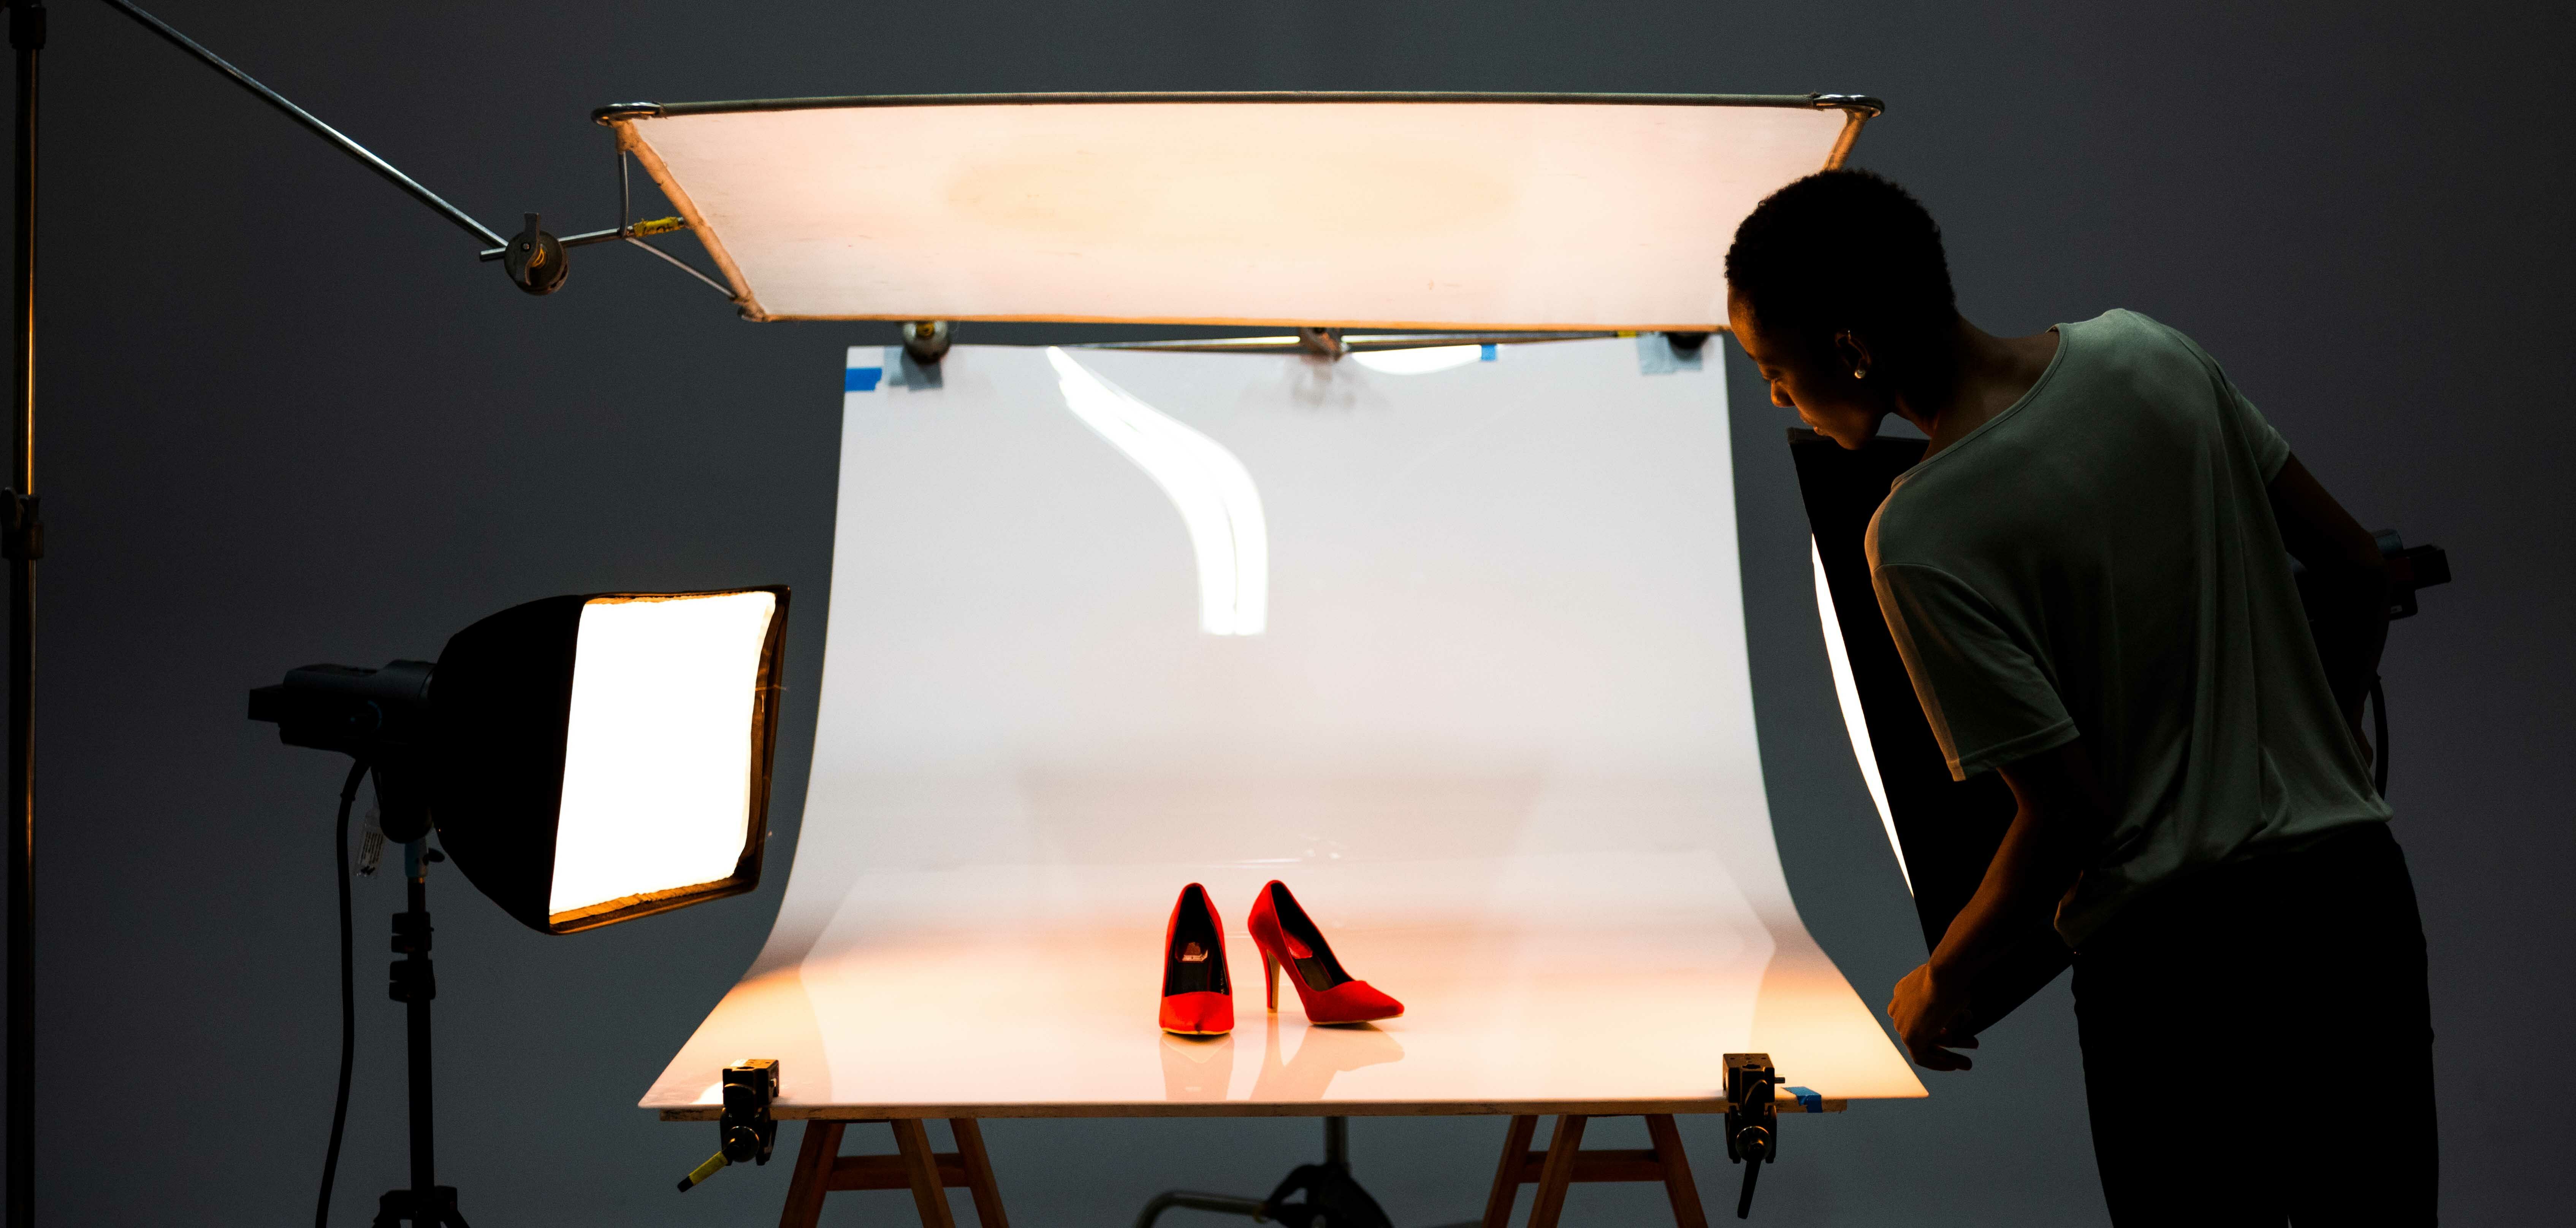
We suggest setting up a softbox either side of the product – one left and one right. Then angle down the softboxes towards the subject at a rough 45-degree angle. Depending on whether you want soft or harder shadows, your positioning of the softboxes will change. The closer the light source, the softer the light. When taking photos of products typically you don’t want to see any shadows, what we want to see is a bright uniformly white (or whatever colour you’ve chosen) background. So, to achieve this we want the softboxes as close as possible without actually being in the shot. This technique provides the bonus of making post production editing a lot easier as you can remove block colours easily in programs such as Adobe Photoshop.
When setting up your paper background make sure that you do so with a “sweep” effect, namely make sure your paper background curves from the vertical plane to the horizontal plane, rather than having a clear edge. Think more like how a skateboarder’s halfpipe goes from horizontal to vertical in one smooth curve, rather than where your living room floor meets the wall. Those right angles are a shadow trap and will distract the buyer’s eye from the product, also making editing the photo harder for you in post. The emphasis of the photo MUST be on the product - the more that the background is muddied then the more attention is taken away from the product and the less professional the photos (and therefore you as a seller) will look, hampering your sales.
3. Ready the Product
This is very context based depending on what you’re selling, but before you start snapping pics you should determine what aspects of the product you want to highlight and show off. We’ll go through the typical angles every product should have photos taken from later, but to begin with we need to have a clear goal in mind for getting the most out of the product.
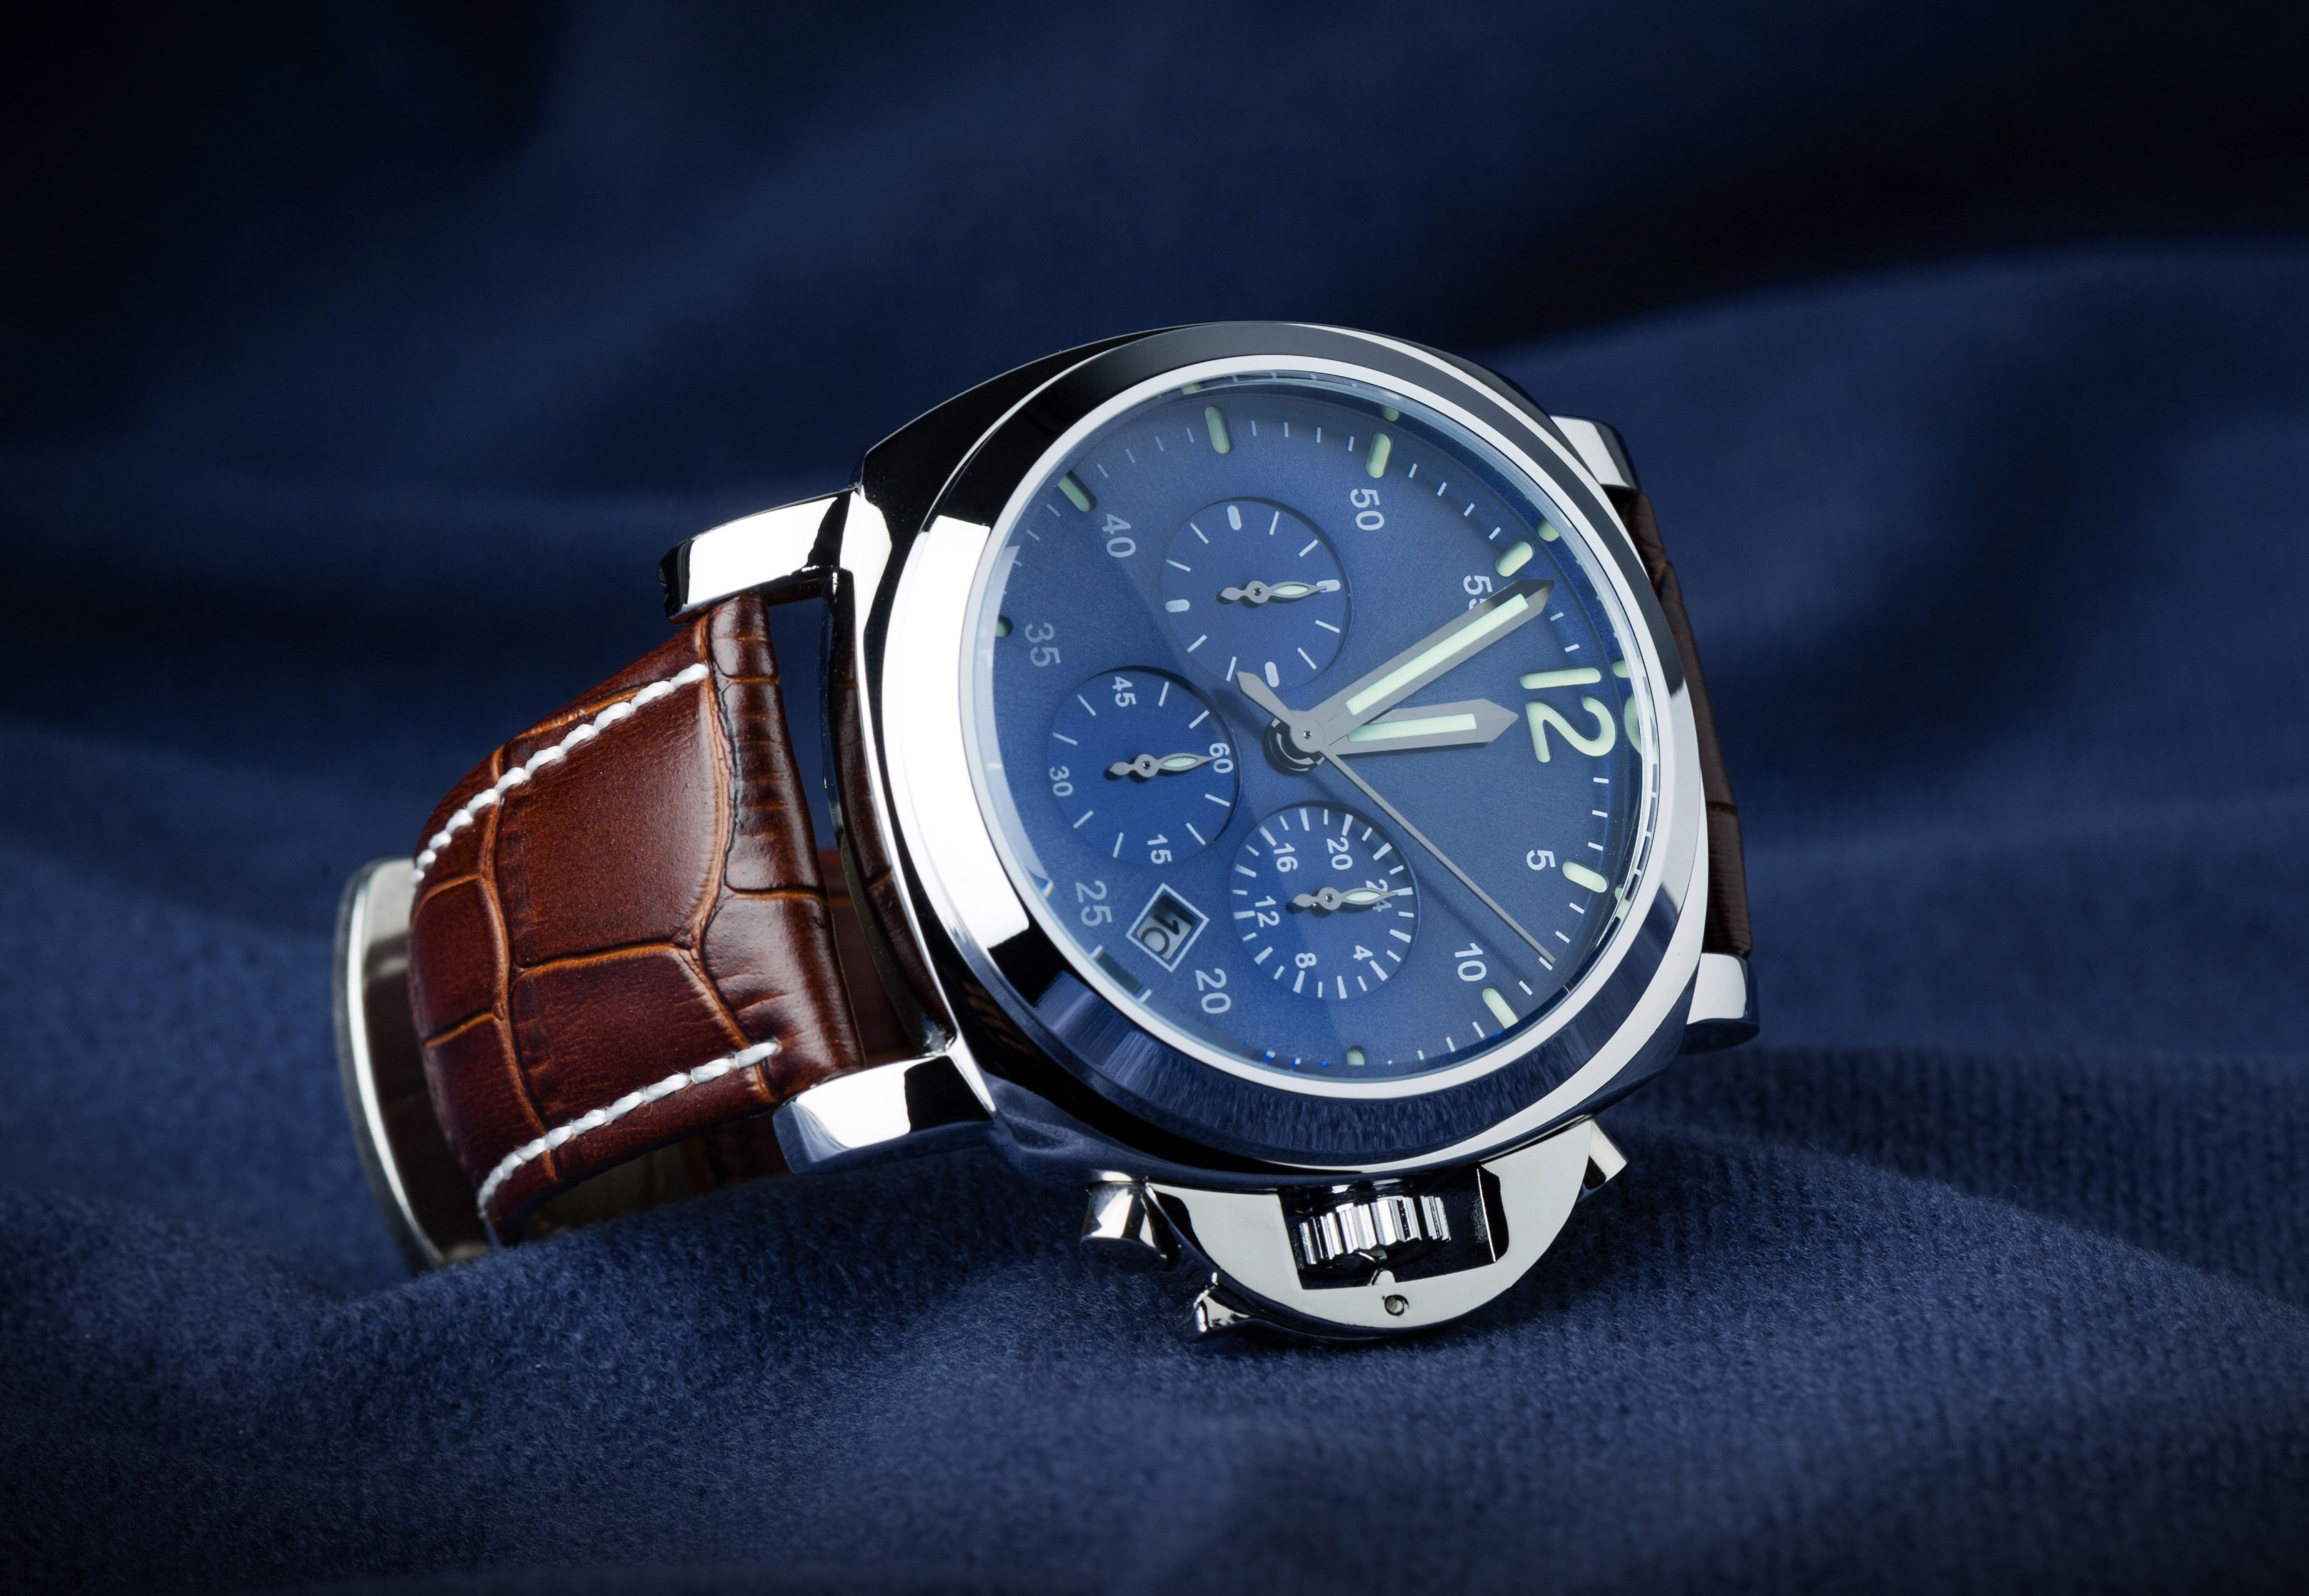
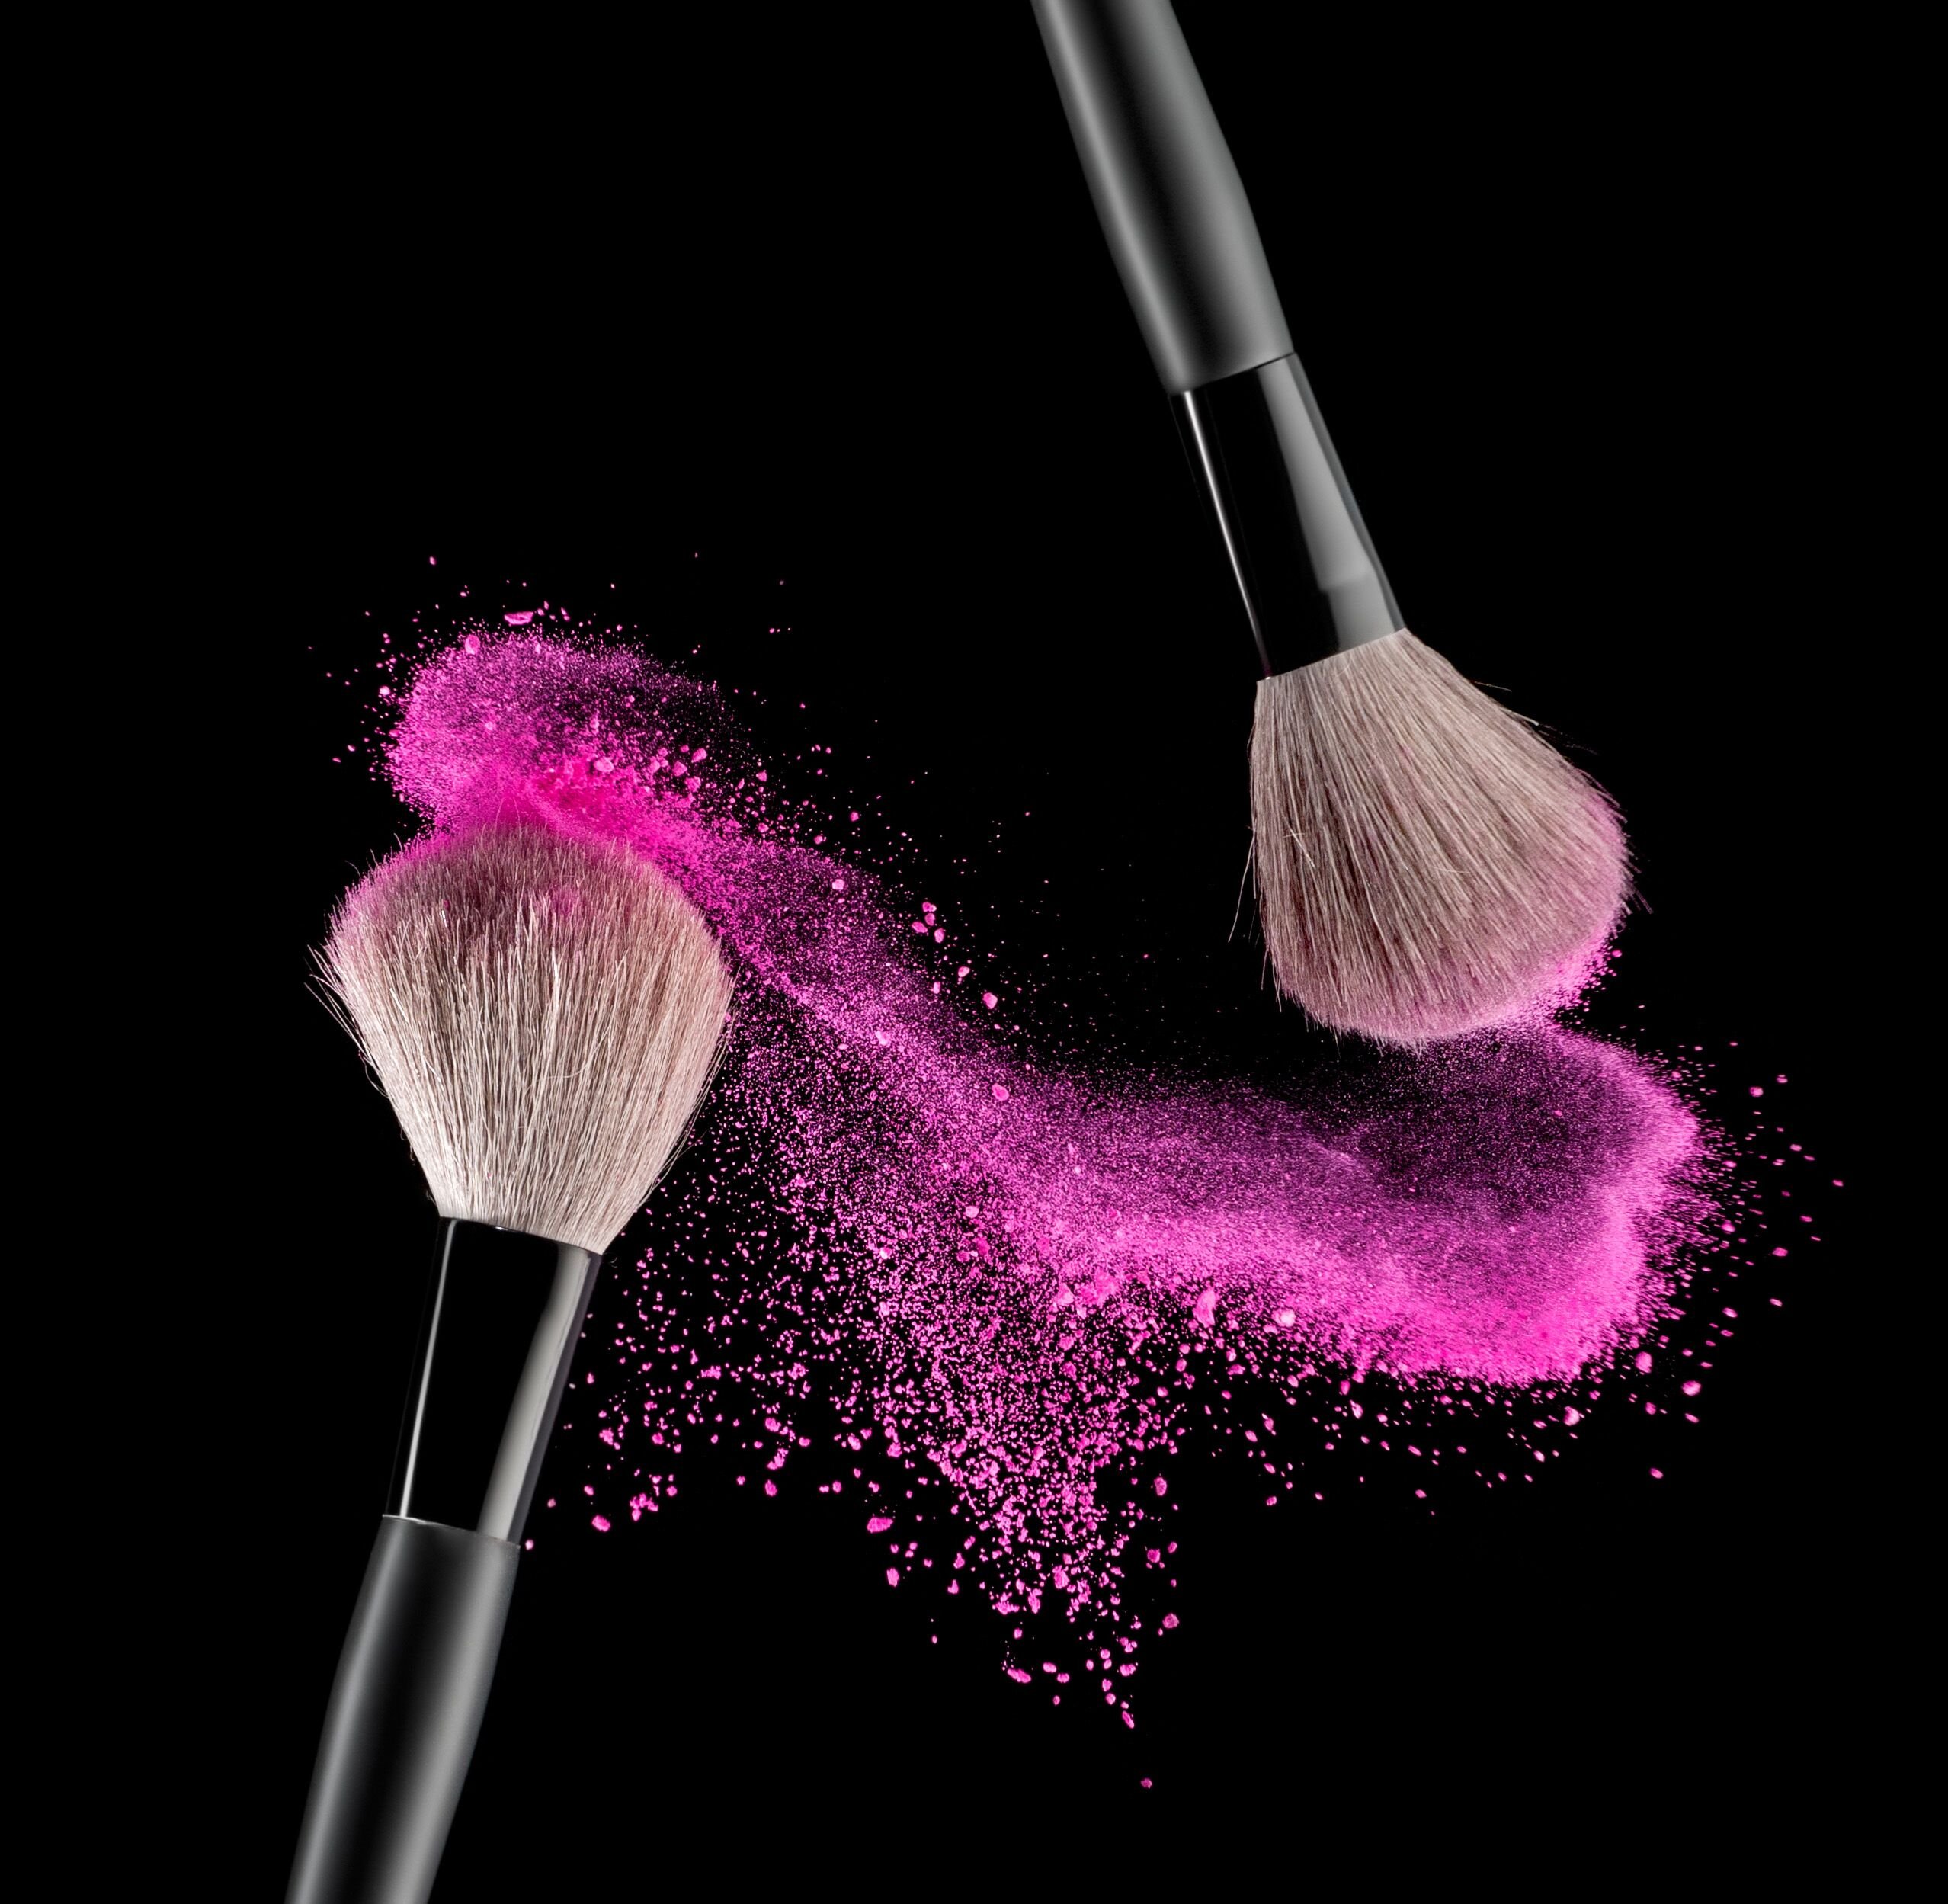
For example, if you’re selling a fancy watch or photographing jewellery then your shots will want to emphasise the quality craftsmanship and the shiny reflective surfaces of any precious metals that the item may have been made out of. If you’re taking photos of some food, such as cakes you’ve freshly baked, showing closeups of the softness of the sponge or the precision of the icing is something you want to show off. We really want to make those mouths water! Think Marks & Spencer adverts if you want a good example of selling food.
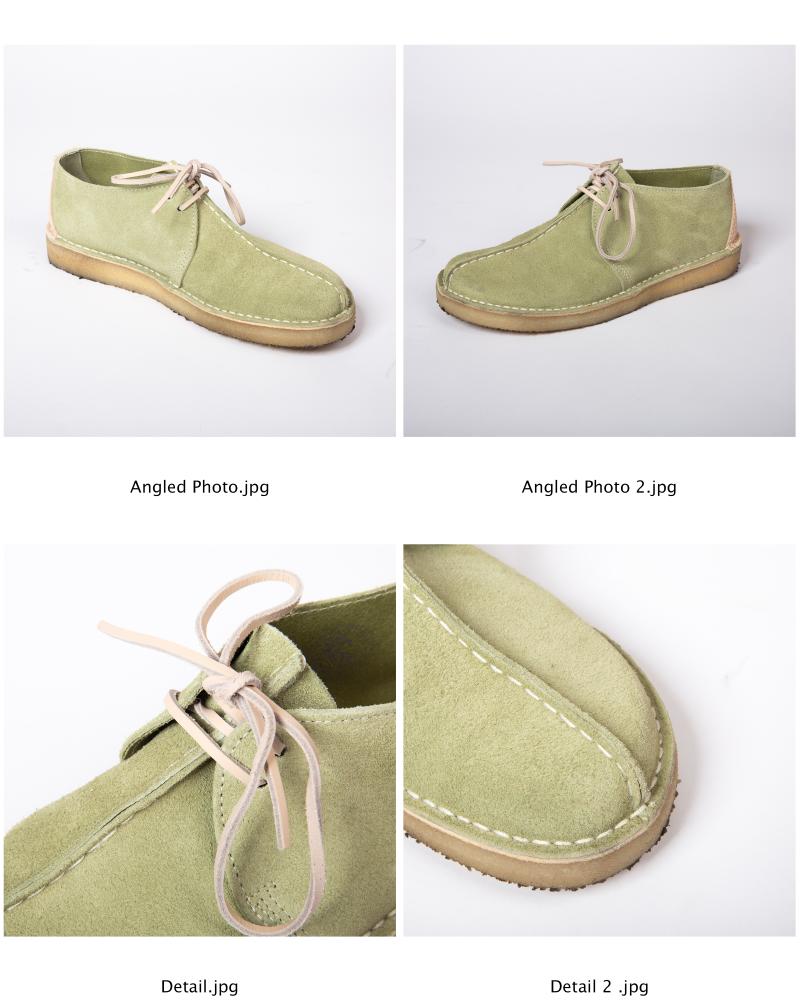
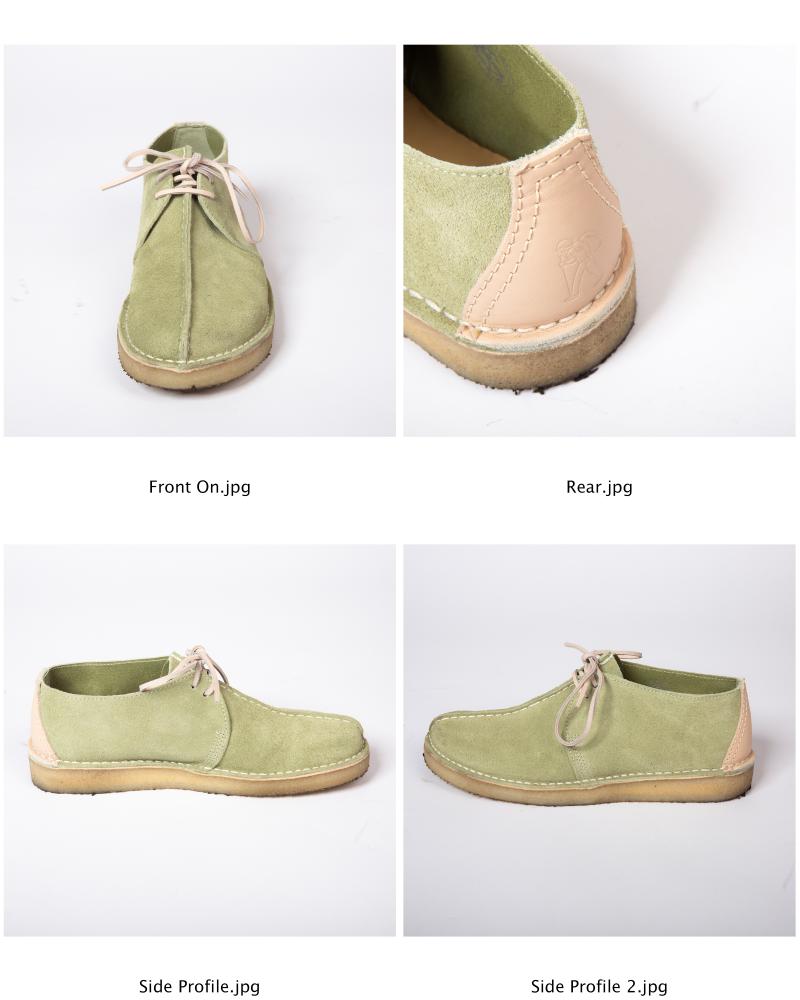
4. The Classic Product Photography Angles to Take
No product can be considered fully photographed until you have these angle shots at the very minimum. There’s a reason why every successful e-commerce company has these angles displayed of every product on their store, and usually present them in the same order each time!
· Front on – the classic product shot, easily identifiable and displaying the product exactly how the manufacturer intended.
· Side Profile – Usually at eye-level, the profile shot of the item shows the side of the item, as if you were 90 degrees from it.
· Angled Photo (45 degree) – Taken from both a 45-degree above the front, and a 45-degree angle to the side. Great for giving the product that 3D real look.
· Rear – The reverse of the product, useful for filling in the customers mental image and helping them visualise the entire product.
· Bird’s Eye View – Taken from directly above, capturing a different view not often seen.
· Detail – Picking out a particular selling point or highlight of the product. This could be the brand name/logo.
· Eye level – Also known as low level or ‘worm eye’s view’, this shot can make the product appear large in size, which is useful for many types of products.
After each shot, make sure you check your camera or smartphone’s screen to see a quick preview of how it looks. Trust me, it’s not fun when you get to editing the photos and you realise one of the key photos is blurry and you have to get the product/studio ready again. It’s a mistake you only make once!
5. Get Creative!
Sure, you want your product photography to display the item as clearly and concisely as possible, but the difference between a good e-commerce product image and a great e-commerce product image is doing something your competitors aren’t doing, making it truly stand out. You can get a long way with good lighting and the correct angles, but the standout products are the ones that are creative with their shots. You really want that ‘WOW’ effect. If the market is saturated with many of the same products it may be the only way of getting noticed ahead of your competition.
For example, if the item is something that the buyer would wear themselves or view in the home, help them visualise exactly how that would look. If you’re selling a watch, maybe present it on a bedside table stand, or on your wrist. If it’s a makeup brush, why not show it with foundation powder ready to apply. Obviously, you will be limited in your creativity by the space available to you and your photography equipment, but there’s no harm in experimenting in the space you’re in!
6. Tweak in Post Production
Now you’re confident you’ve got all the shots you need, it’s time to move on to editing. We understand that the readers of this guide will have wildly differing levels of computer literacy so we will try our best to keep it simple.
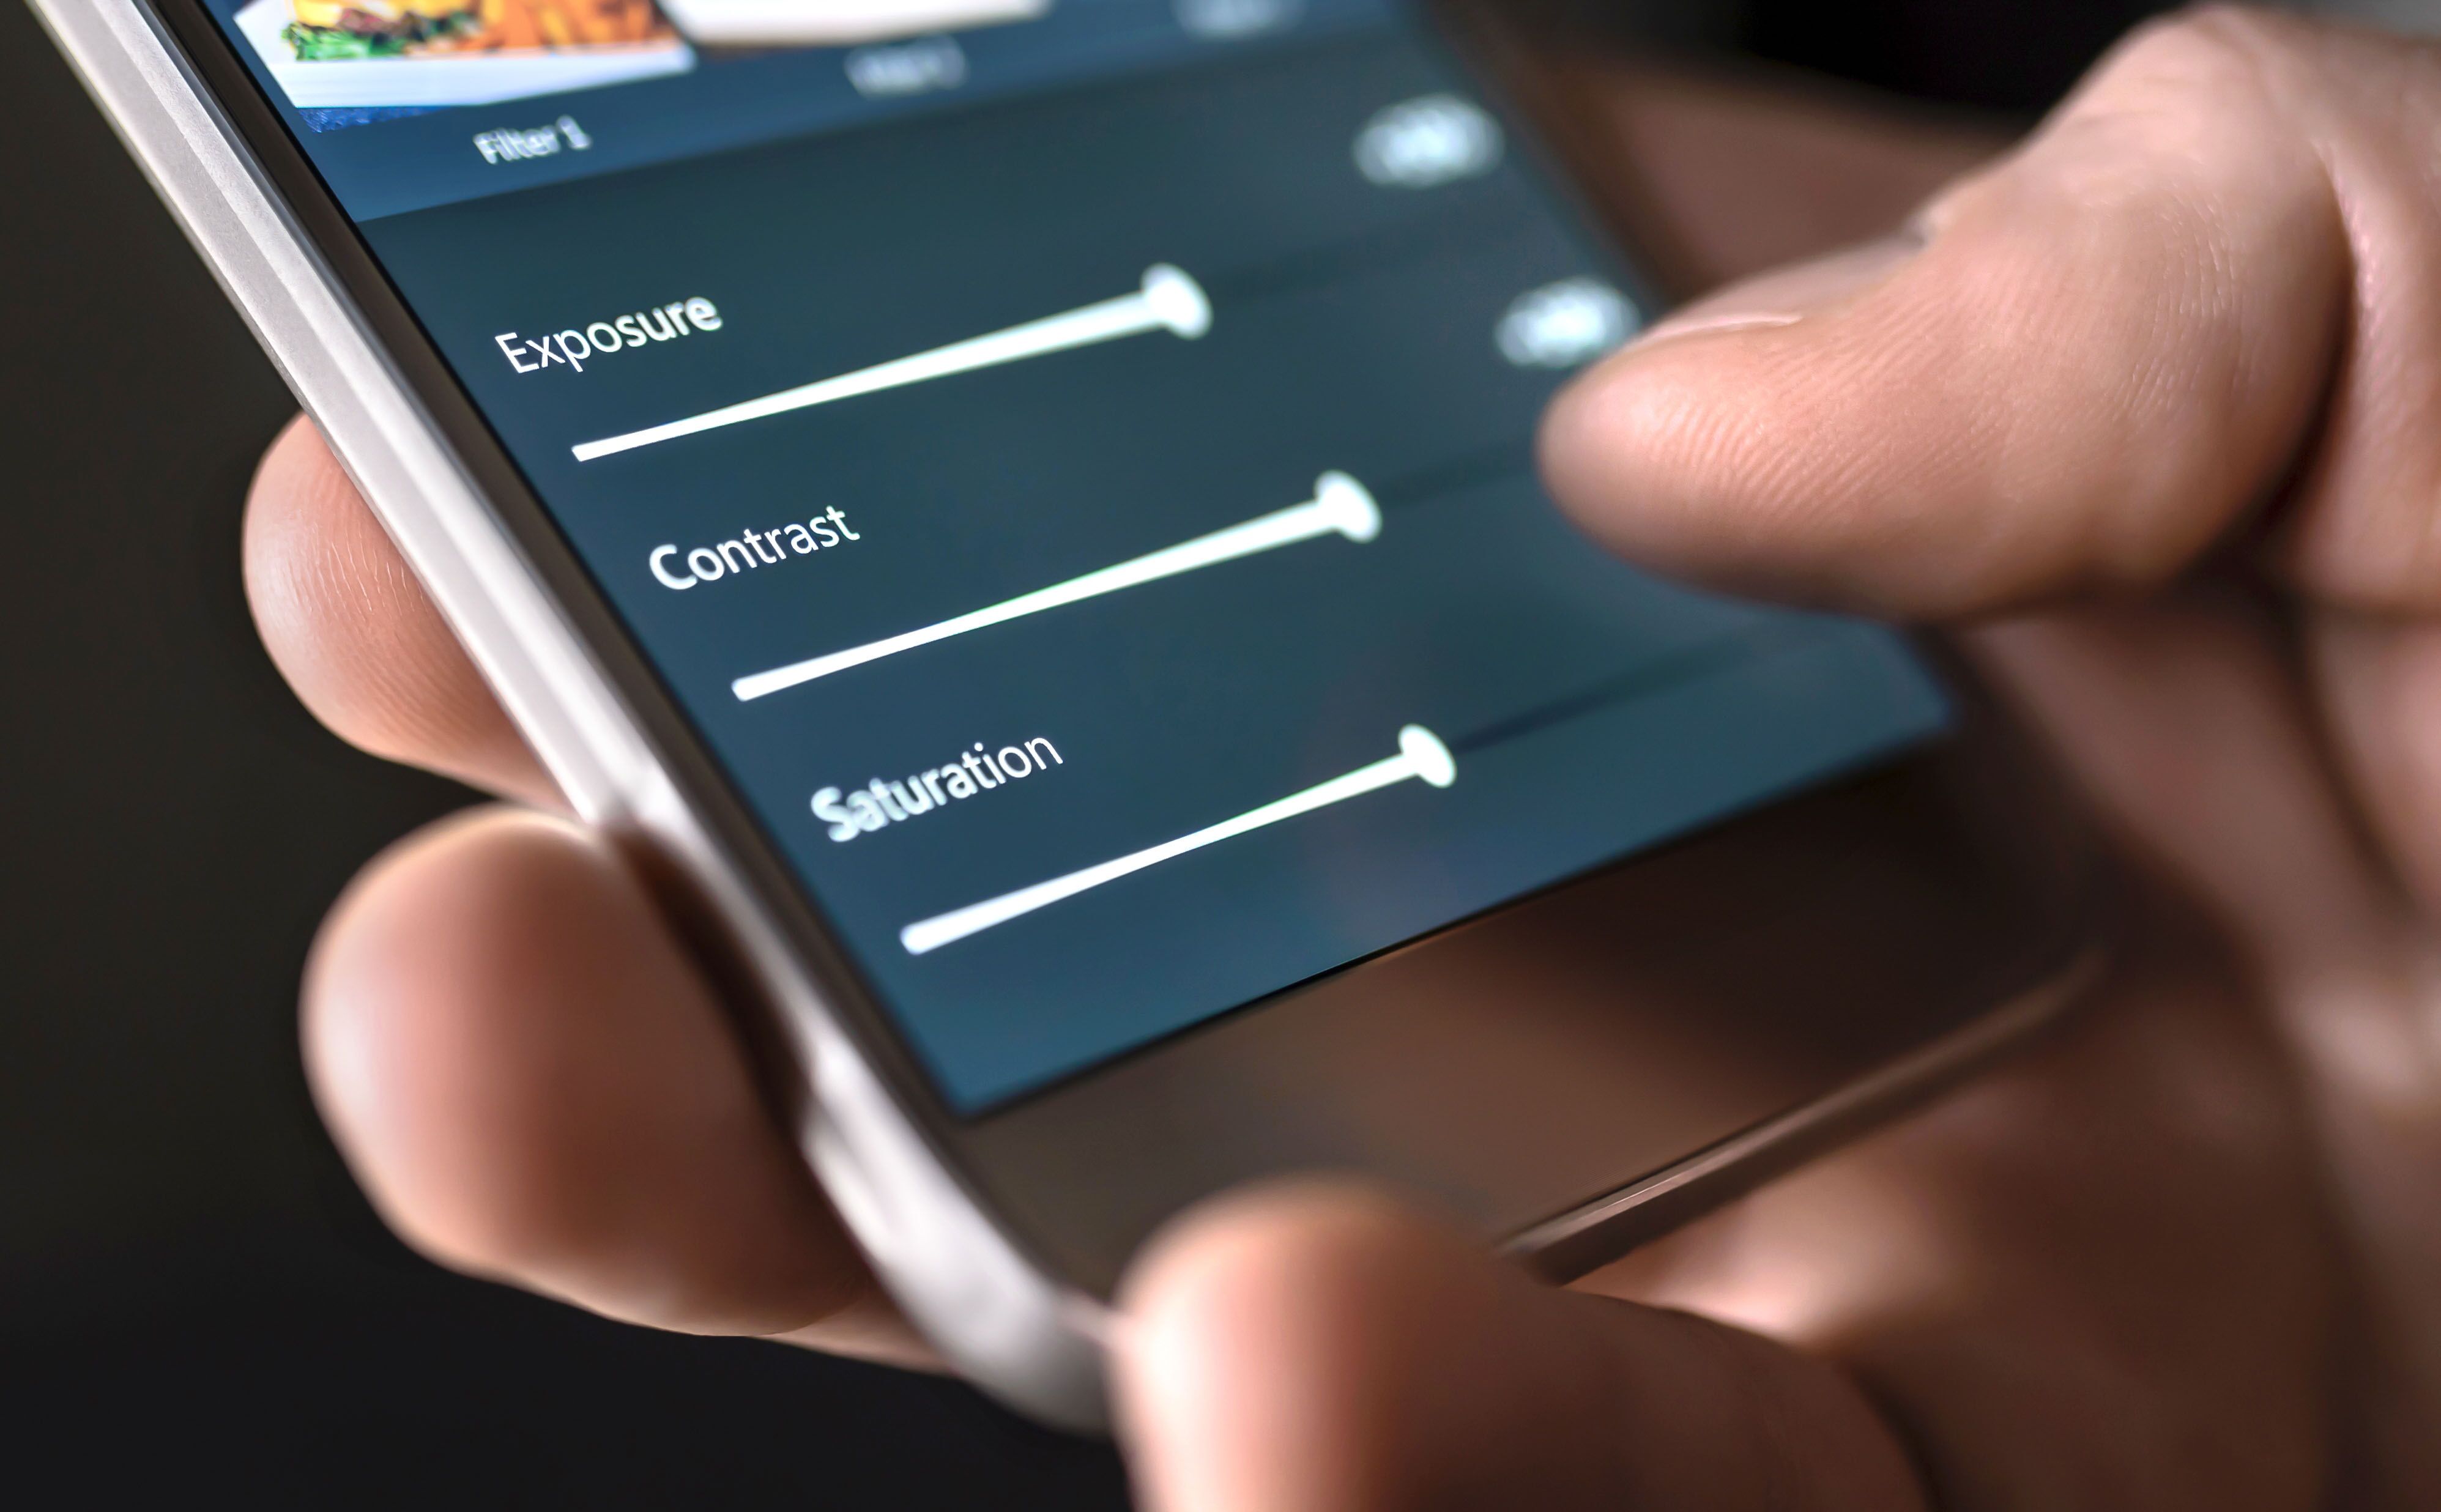
If you have taken your photos on an iPhone or Android phone, most of the auto correction will have been done at the time of the shot. Many smartphones give you the ability to edit the images using the inbuilt phone software, providing you with the option of editing core aspects of any image such as brightness, contrast, saturation, exposure etc. What we’ll be typically interested in is the brightness and contrast levels. Use the brightness setting to get rid of any remaining shadows in the background, and raise the contrast to ensure the colours are vibrant and not washed out as can happen with the rise in image brightness. Very quickly you’ll get an eye for the level settings that are most desirable, and most shots from the same photo shoot will require the same level adjustments.
Something that may seem counterproductive when you want to get the most out of your shots is the image quality. Many channels such as eBay and Amazon have restrictions on the size of the images you can upload for your products. Even if you are posting images on your own website, you will still want to consider hosting smaller file sized images rather than the fully sized photo. This is due to website loading speeds which could make viewing your images slow or even impossible for those browsing on a phone or on a slow internet connection. Finding a good compromise between image quality and loading speeds is crucial, as if you go too far in one direction the other aspect will suffer.
Conclusion
Hopefully this guide will have provided you all the necessary information to begin taking quality product photos and increasing your website/channel’s sales. The more products you photograph, the more you will find your skills improving and it will become second nature. You will also develop an eye for shot framing and really bring out those defining product features. The best thing to do is to get stuck in and give it a go. We’re confident that by following everything in this guide you can’t go far wrong!
Content Creator